

Bambu Lab H2D Combo Review (1) Overview and Comparison with A1 mini
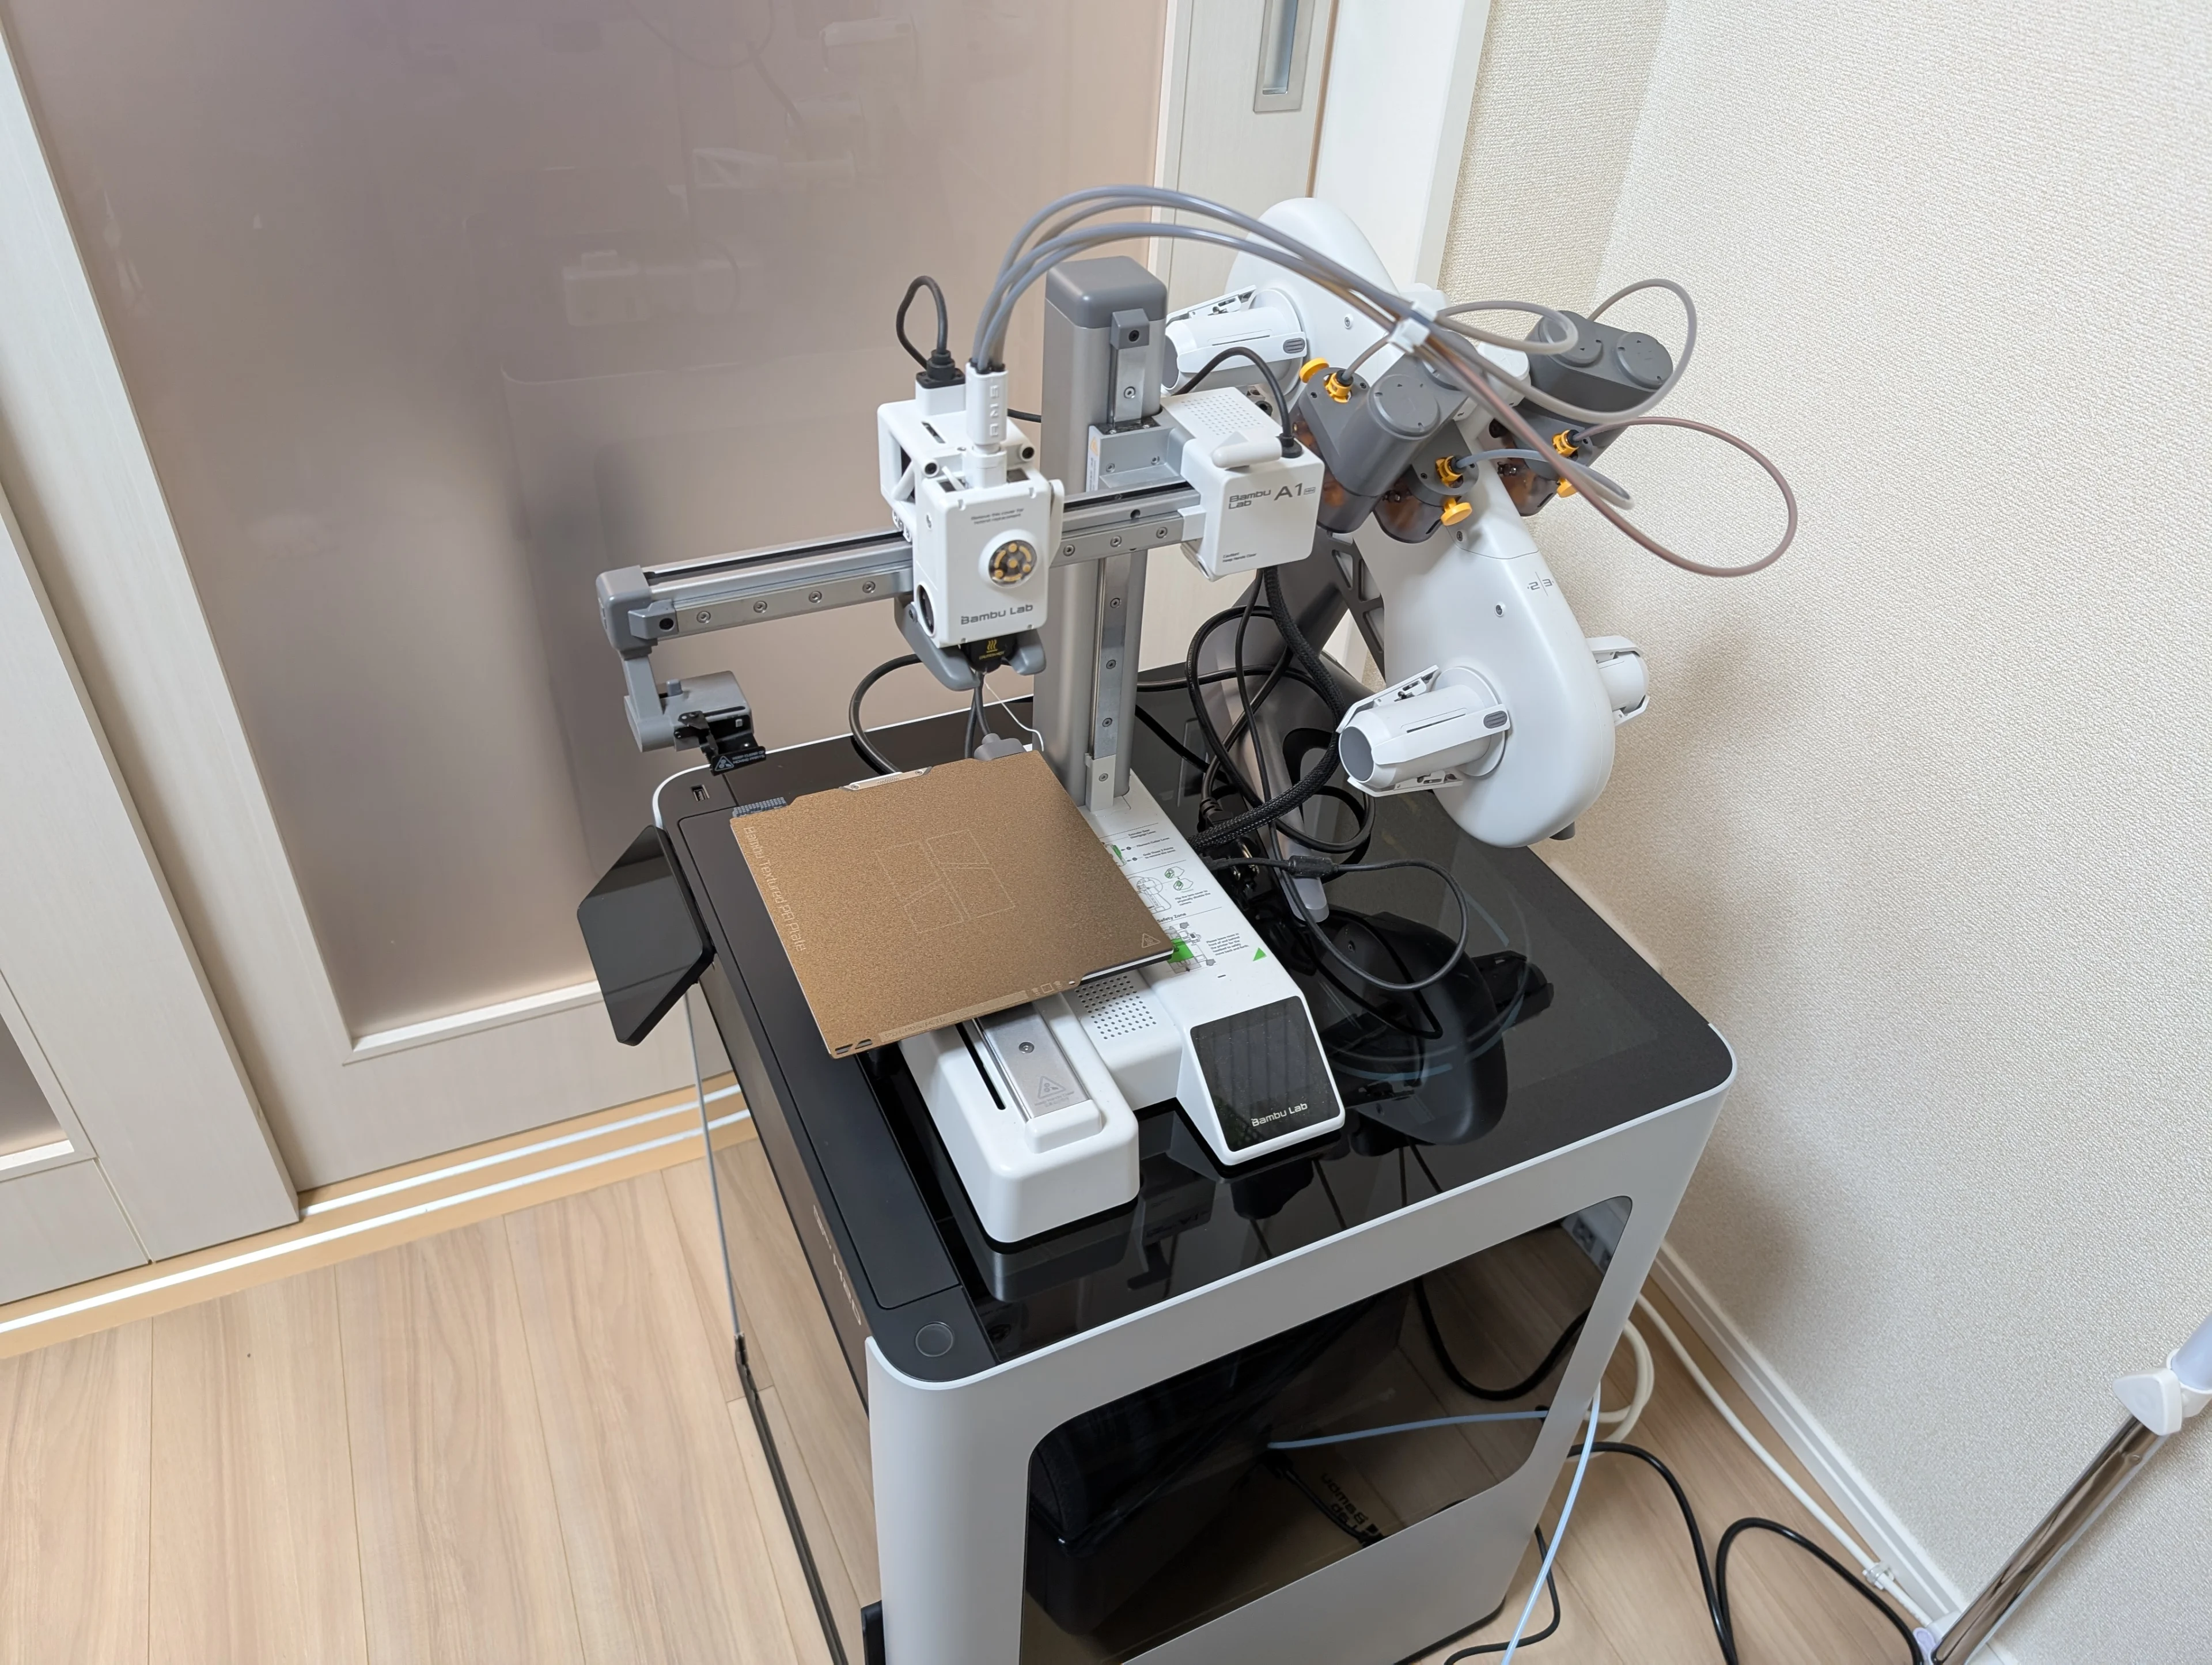
The Bambu Lab H2D Combo has arrived! No matter how many times I look at it, it's huge.
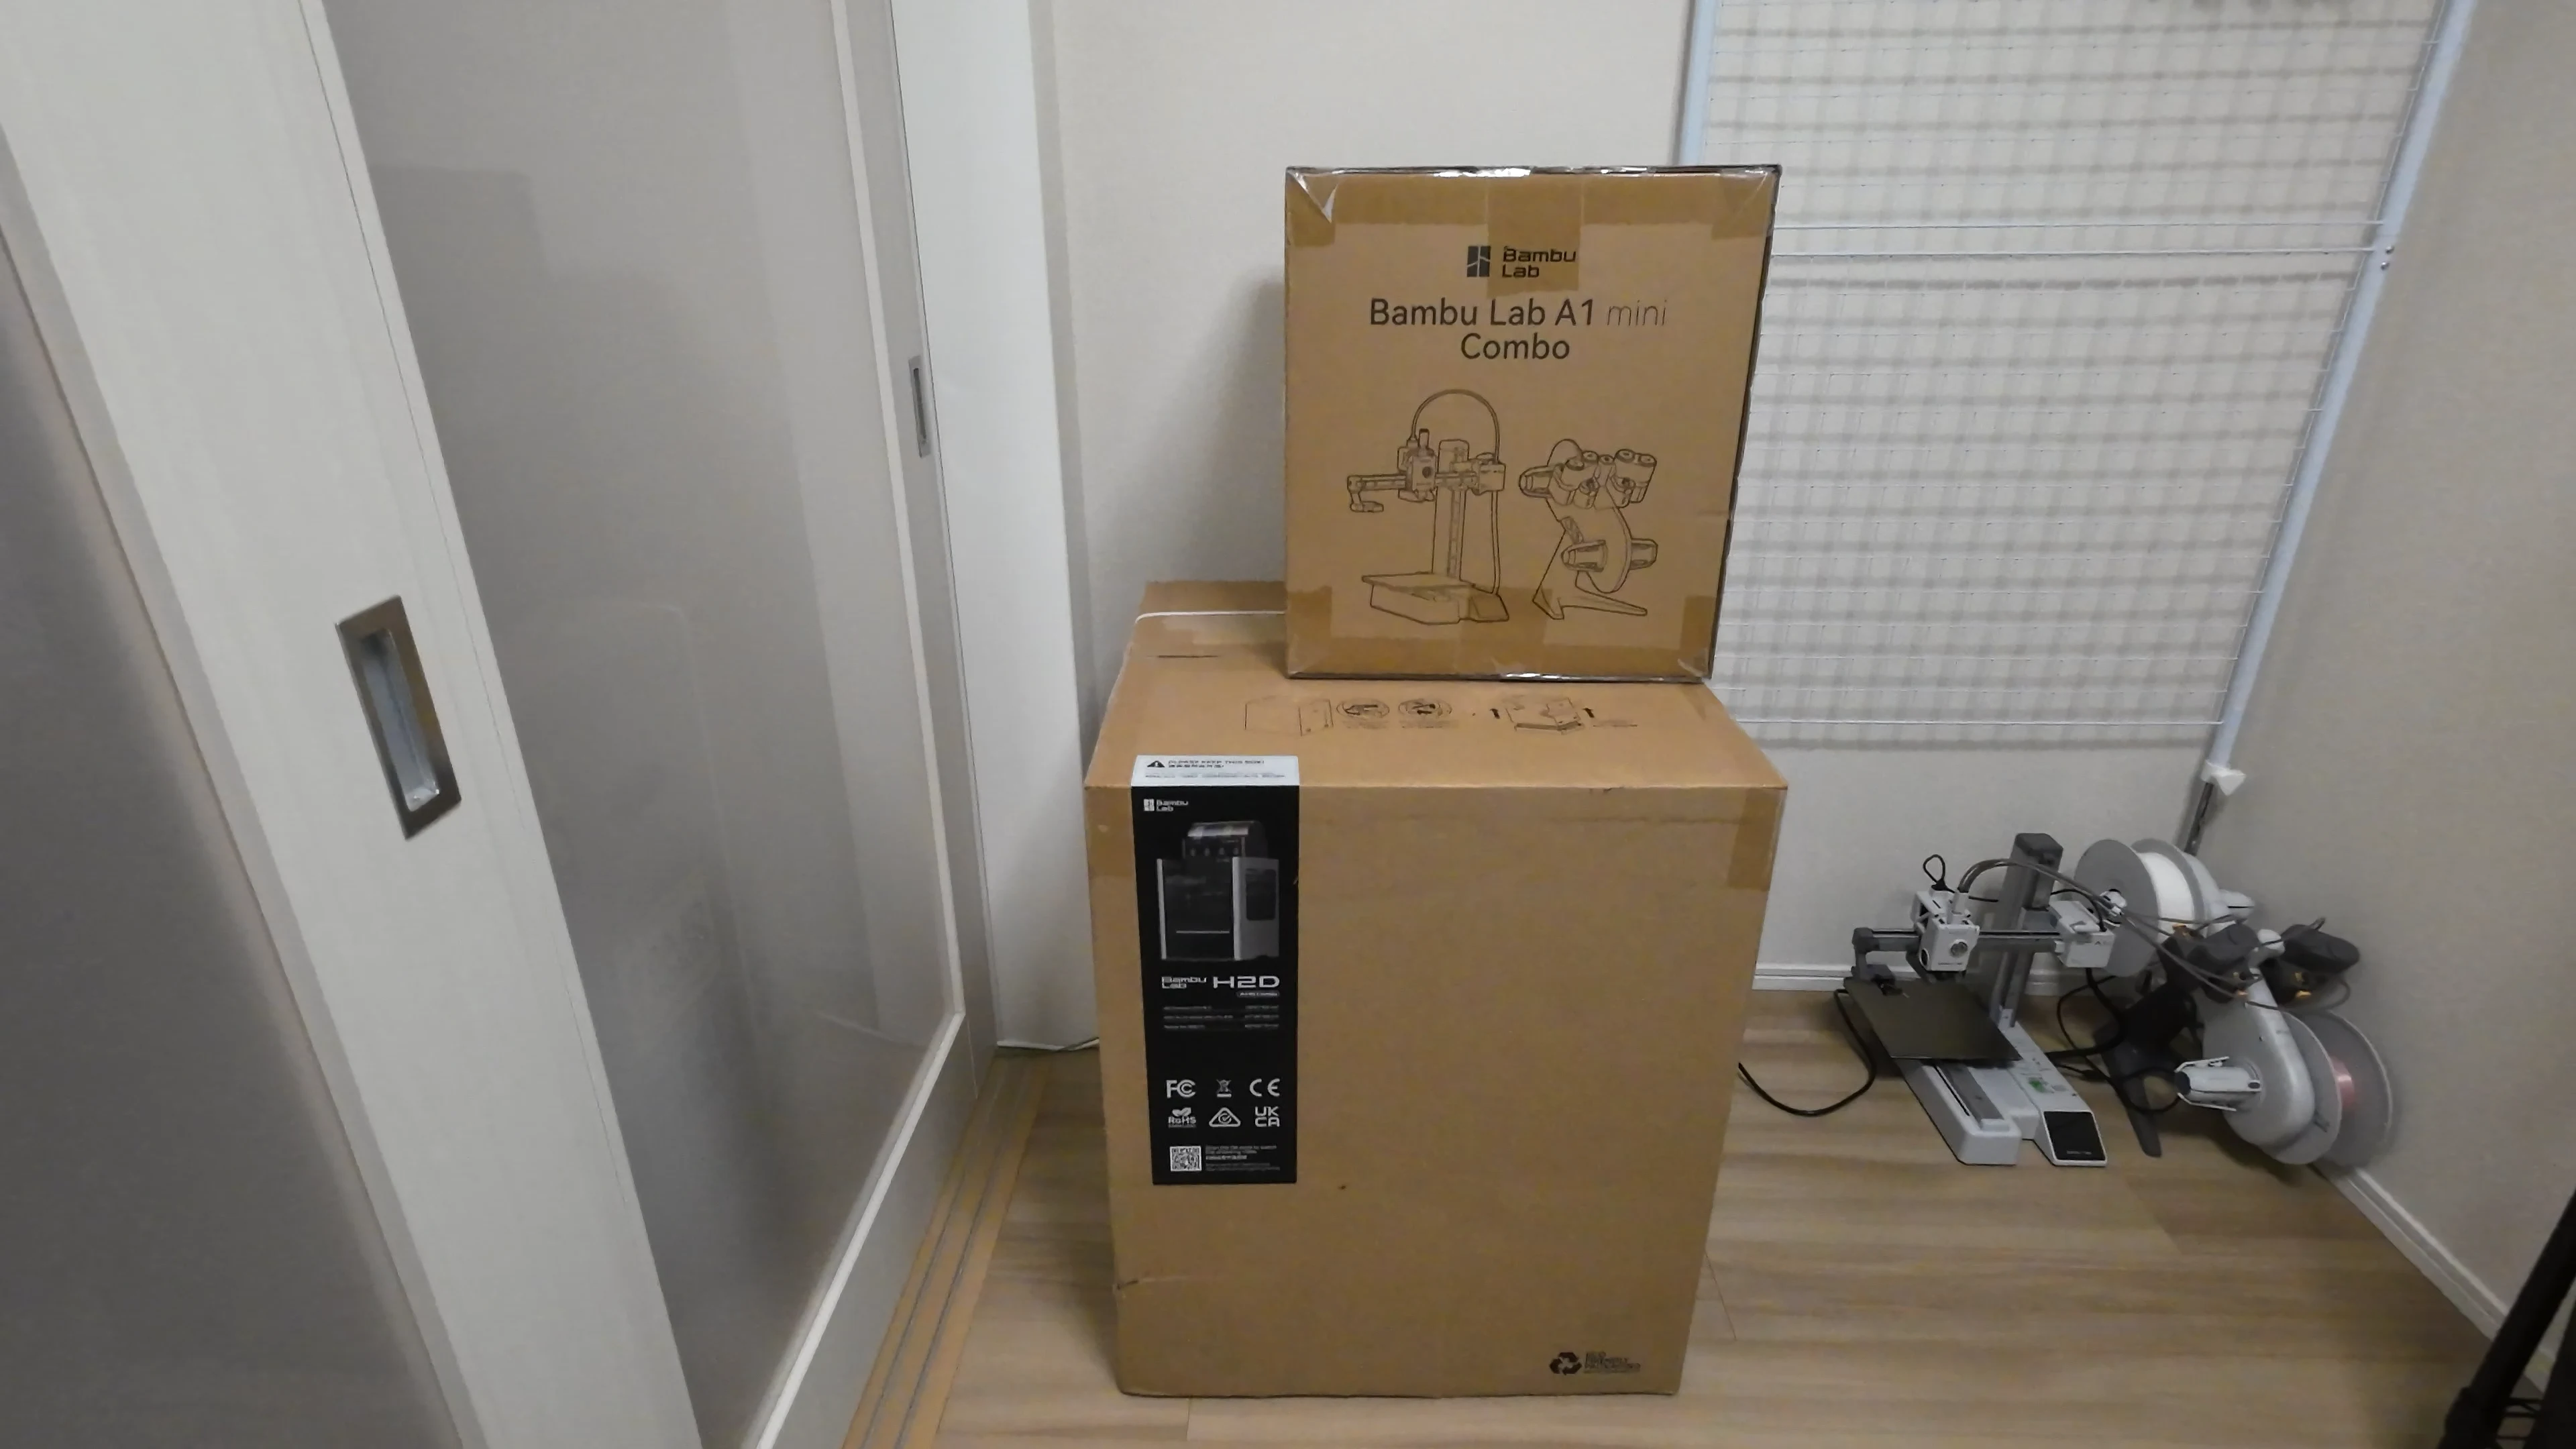
The A1 mini looks even smaller due to perspective
In this article, I'll share my impressions up to setting it up in an ordinary home and doing some test prints. I plan to write a separate review with detailed printing impressions after using it for a while.
Please note that I don't have the laser function, so if you want to know about the laser, please check other reviews.
(I originally wanted to make a video, but it seemed like it would take a very long time, so I'm sharing this with still images for now.)
Review Premise
When reading a product review, it's important to know the perspective from which it's being told.
As I'll mention later, here's a brief summary of my standpoint:
- Relatively new to 3D printing
- This is my second 3D printer
- I have never operated Bambu Lab's A1, P1S, or even the X1C
- The installation location is a typical home
- (Currently) I mainly print large quantities of small objects
Looking at this, it doesn't seem like I need an H2D, does it?
My comparisons will be based on this background. I think different people will have different impressions, so please leave comments if you have any questions.
Why Did I Buy the H2D?
The first 3D printer I bought was the A1 mini Combo from the same company, Bambu Lab.
For the past few months, it felt like it had been printing something whenever I wasn't sleeping, making me feel like we'd been together for years, but in reality, it hasn't even been a year.
My reliable partner, the A1 mini, did a sufficient job, but there were a few points I wanted to improve.
First, there's the size issue.
As the name A1 mini suggests, it's relatively small. Trying to print a large quantity of small items requires repeated printing, which inevitably becomes troublesome. The time spent cooling down and heating up isn't negligible either, reducing the overall production speed. The standard solution is to add another printer for parallel processing, but that brings management and space issues. I don't need the parallelism of a print farm, so I wanted to operate with a single, low-management-cost machine.

A size worthy of the "mini" name. Often sufficient.
Next is print stability.
While it wasn't a problem in most cases, stability significantly dropped at the edges when the print area expanded. When spaghetti monsters formed or warping occurred, it wasted a lot of filament and time.
Maintenance of the build plate and other factors might be involved, but various attempts didn't yield success. Using adhesives is just too much hassle. Without an enclosure, and in a typical home environment, dust accumulation is unavoidable. I considered making a dust cover, but it seemed time-consuming, so I left it for now.
Adjusting settings for successful prints feels like craftsmanship, but what I want are the printed objects, not the adjustment know-how.

Warning notice for the Textured PEI Plate. Maintain it properly.
There's also the smell issue.
I mainly use PLA and PETG, so I don't think there are health risks, but the smell of melted plastic isn't exactly pleasant. Ventilation is necessary, but the available rooms for setup are limited, and keeping windows open isn't feasible depending on the season. Therefore, I wanted an enclosure with a filter.
Regarding support printing, the A1 mini + AMS Lite performed adequately, but as the number of prints increased, I started wanting improvements. Almost everything I print requires supports. Adjusting and removing supports took up a significant amount of time. Even trying to utilize support filament, the waste from switching on a single nozzle is substantial. Trying hard with slicer adjustments has its limits, and more importantly, it consumes time that isn't essential to the core task. I don't want to print supports beautifully, darn it.
Finally, personal timing.
The amount I was printing was increasing, and I was about to start prototyping new printed objects. I wanted a printer that could easily and reliably output prints using various materials, including ABS, and save time.
To summarize, I was thinking, "I wish I had something large, stable for printing, without a noticeable smell, and with dual nozzles..." and then the H2D appeared! Perfect timing. My experience with the A1 mini was very good, and Bambu Lab generally has a good reputation, so I was already checking their products for my next purchase.
Considering all this, one might think the P1S would have been sufficient. However, the dual nozzle feature seemed promising, and since the P1S is a product from about two years ago, I wanted to try the latest model.
Above all, I thought that if I bought the P1S, "the option of buying the H2D would constantly remain in the back of my mind."
While there's a good chance it's overkill and I won't fully utilize it, I decided it would be better for my mental health to jump straight to the flagship model and push myself.
Waiting for a sale or the successor to the P1S would be the sensible approach, but due to the timing mentioned earlier, I decided to just buy it.
That's my motivation. Did it make sense somehow? Currently, my aim isn't to print amazing things, but rather to eliminate minor annoyances and increase development speed.
Since I can now handle sizes and materials that were impossible with the A1 mini, I intend to gradually explore the unique capabilities of the H2D.
Note that I didn't get the flagship laser function. I don't have a use for it right now, and management seemed quite challenging, so I ruled it out early on. It's possible to upgrade later, so for the time being, I plan to continue using it as a regular 3D printer.
Size
Finally, the main part! From here on, my introduction to the H2D will primarily compare it with the A1 mini.
Let's start with the notable size. Its large size has been discussed in various places even before its release.
Depending on the nozzle settings, it supports a build volume of roughly 32cm cubic.
The main unit is a size larger, approximately 50 x 50 x 62 cm.
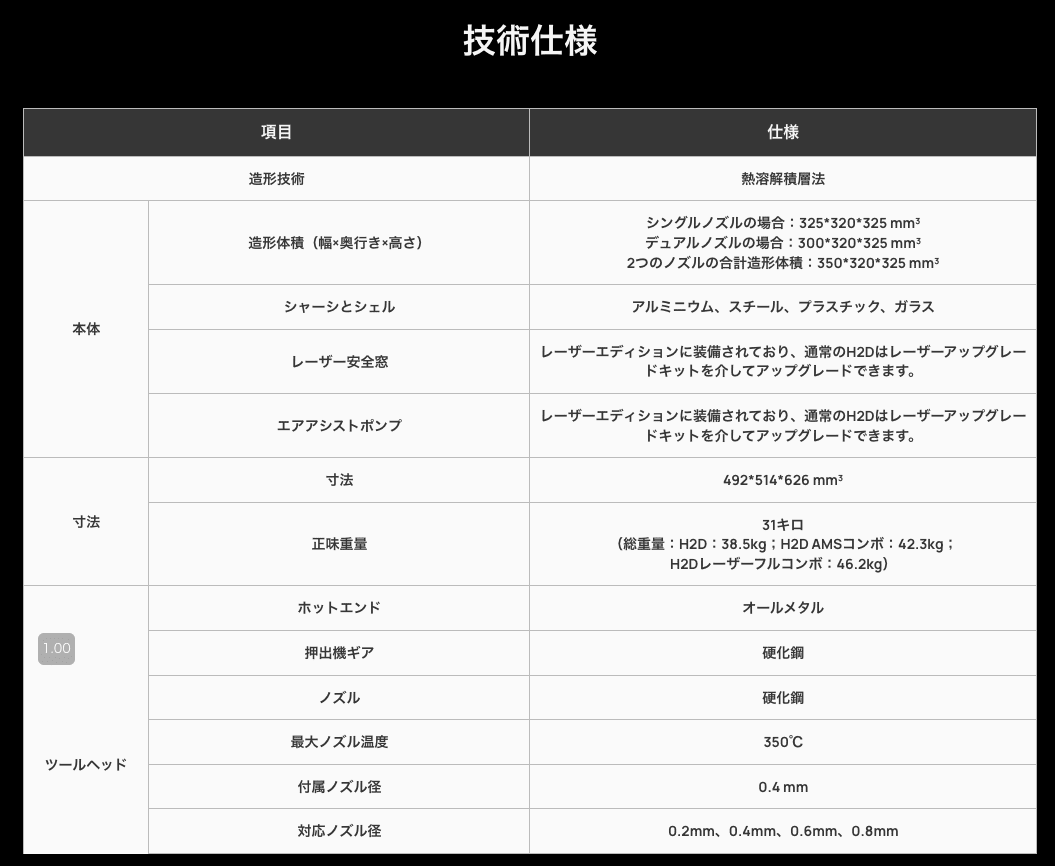
From H2D technical specifications
Of course, I knew this, but perhaps people don't believe things until they see them with their own eyes. My reaction upon seeing the actual unit was, "It's huge..."
I'm sure it's not fully conveyed to you readers either, but to put it in perspective, it's smaller than a compact drum-type washing machine.

To enter the house, the human body needs to become thinner
There's a trick to this: the outer box is huge. It's a size larger than the main unit, about 62 cm square and 75 cm high.
Being precision equipment, it's packed with extensive cushioning materials. As a result, seeing the outer box, which is a size larger than the unit itself, is what initially causes the shock of its size.
In a typical home, be aware that the box might not fit through hallways or doorways, so be careful.
The main unit itself is relatively small.
Relatively small main unit
This is an illusion caused by getting used to the outer box. It's still plenty big.
Note that there are ventilation ports on the back, so it needs to be placed slightly away from the wall.
Size Comparison with A1 mini
Size is hard to grasp without comparison, so let's compare it with the A1 mini.
| Model | Build Volume | Printer Size |
|---|---|---|
| A1 mini | 18cm × 18cm × 18cm | 34.7cm × 31.5cm × 36.5cm |
| H2D | 32.5cm × 32.0cm × 32.5cm | 49.2cm × 51.4cm × 62.6cm |
Comparing the numbers, it doesn't seem that different...?
Let's compare the build plate sizes. Yeah, it's still huge.
With this much space, you can print large objects, of course, but also print small items in large quantities to save time[1].
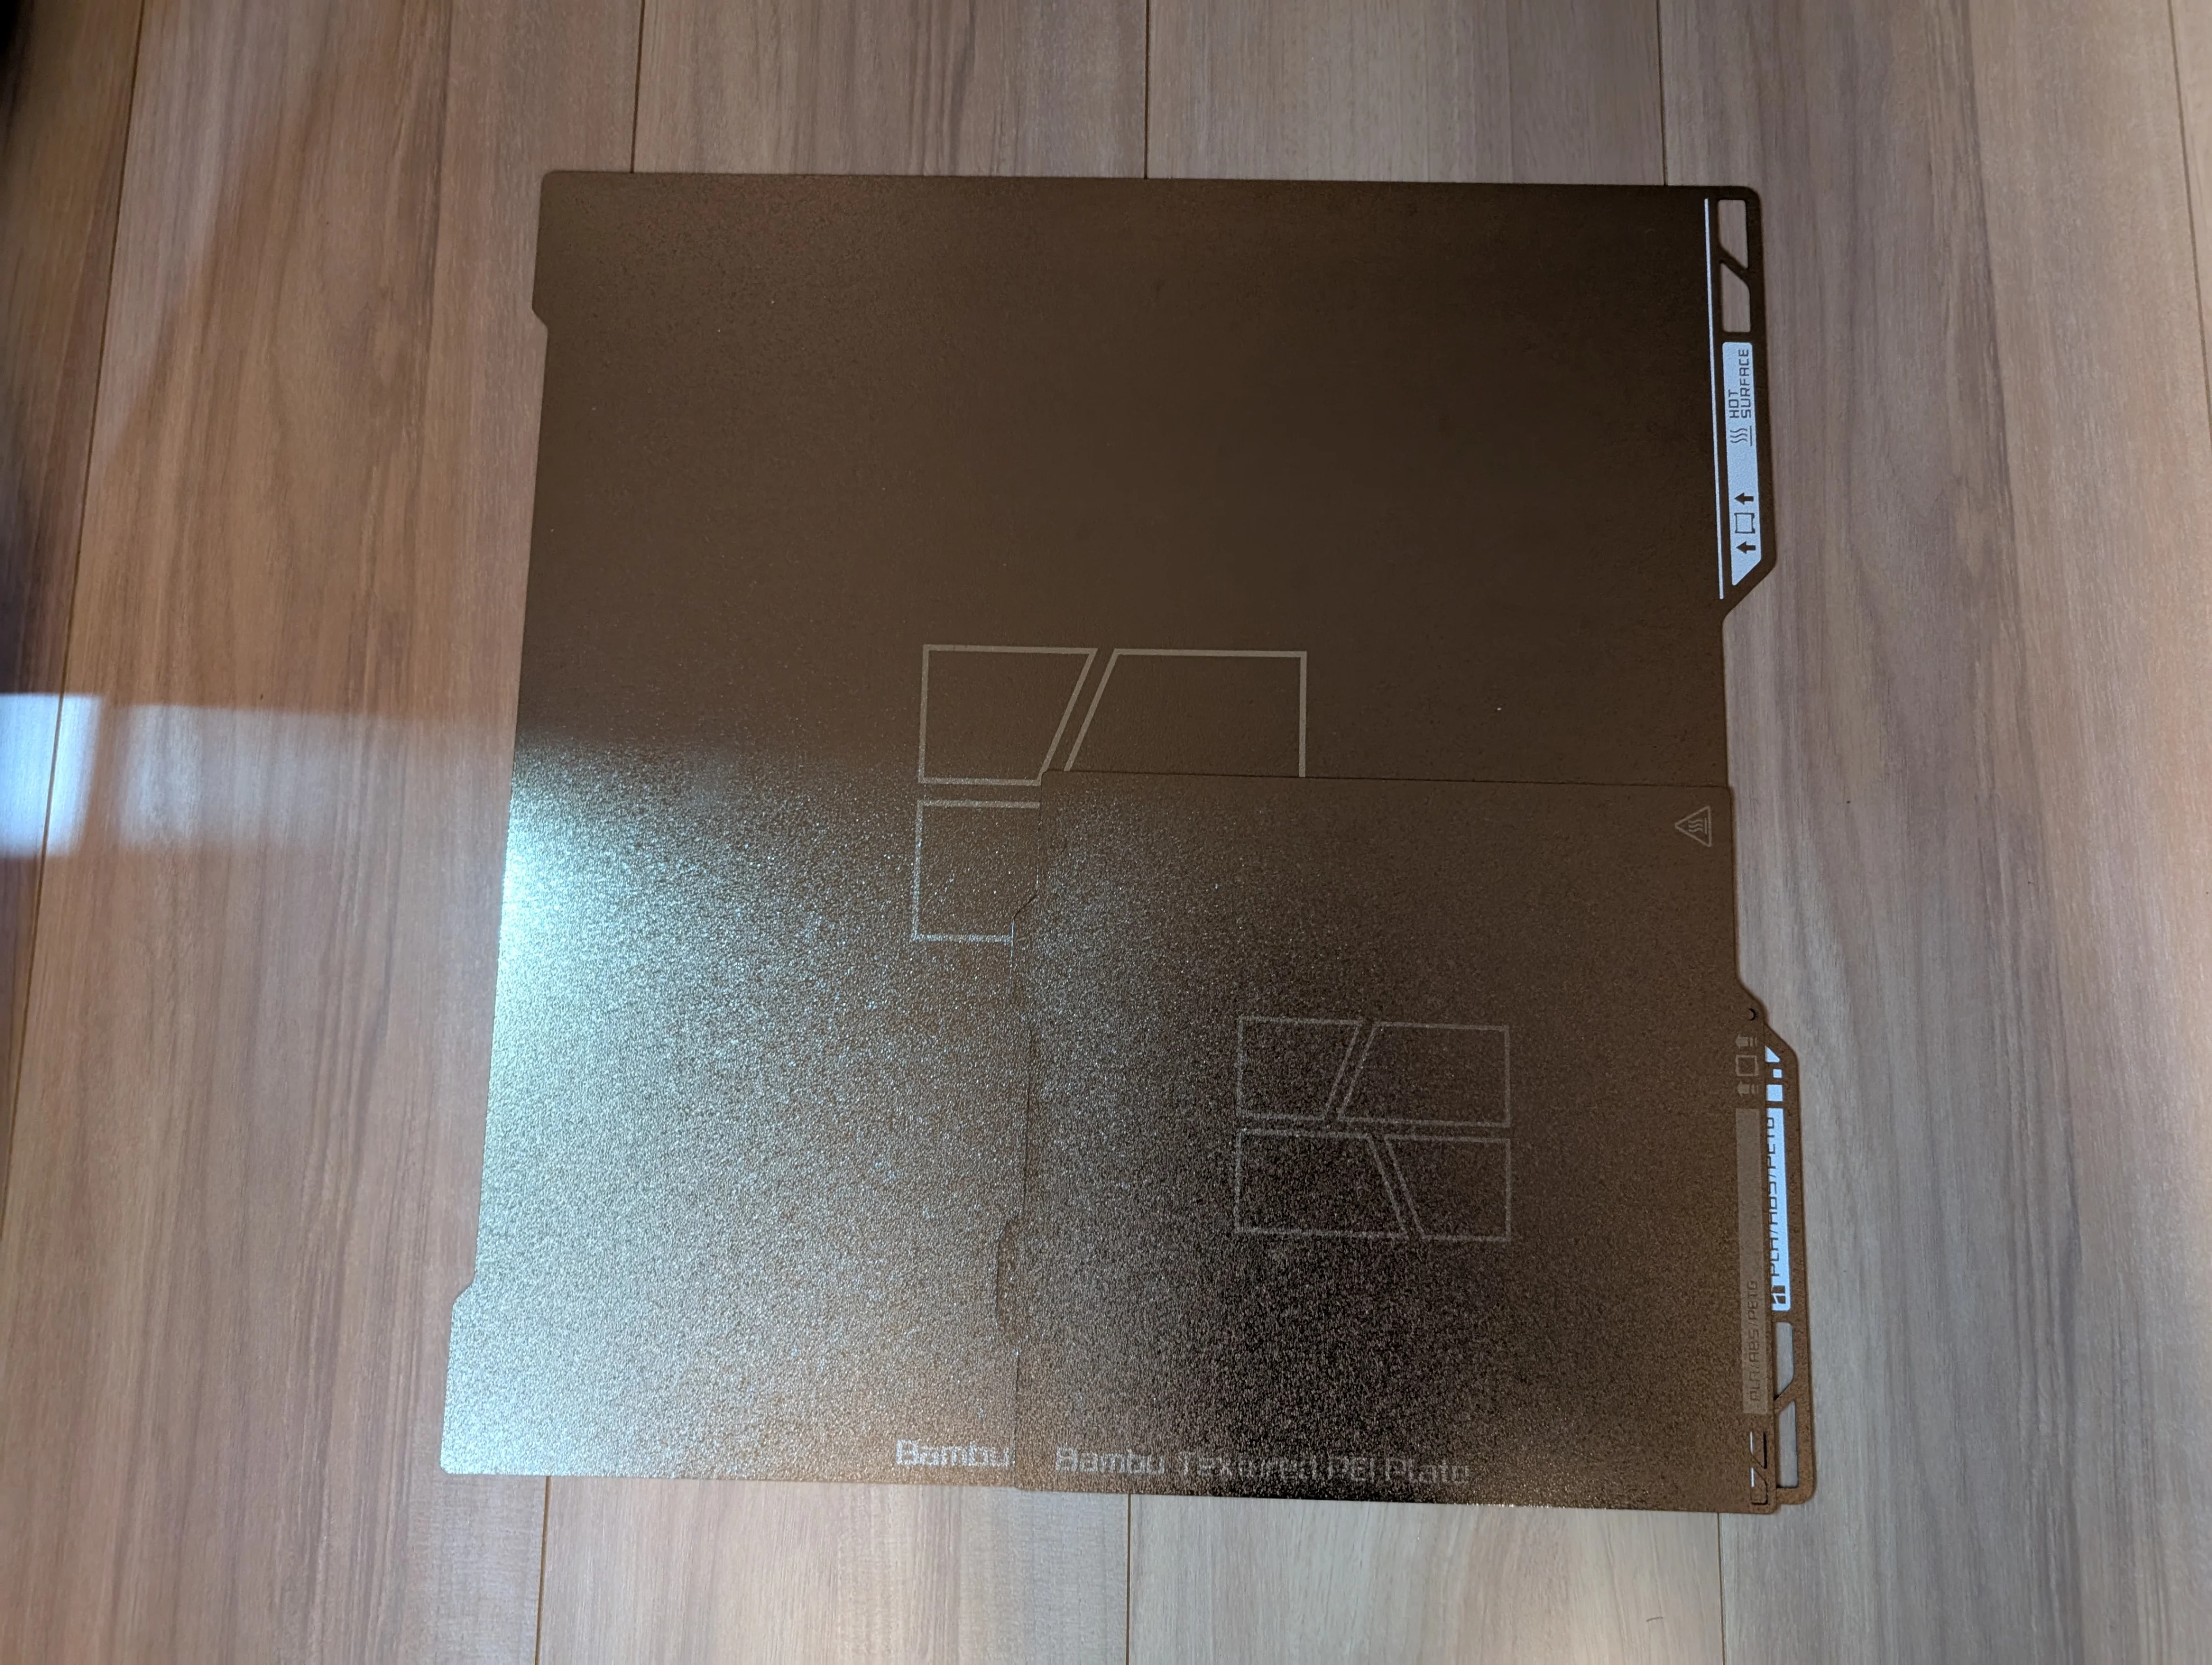
Build plate comparison
It's definitely big, but the footprint isn't surprisingly large.
For those who previously used the A1 mini and AMS Lite side-by-side, it's almost the same. The height is also limited, so finding a place for it might be easier than expected.
However, placing it on a shelf becomes significantly more difficult.
Parent and child
Incidentally, the H2D is larger than the outer box of the A1 mini Combo. So, if you own both, you can store the A1 mini's box inside the H2D's box to save storage space.
Setup
Regarding installation, besides the size, weight is also a challenge.
I haven't measured it precisely, but it weighs nearly 40 kilograms. What does "net weight" even mean?

Net
Initial setup isn't impossible for one person – in fact, I did it myself – but it's definitely not recommended. Bring some cheap labor from somewhere.
Also, even if installation is fine, moving it is quite difficult. The anti-vibration rubber on the bottom performs well and doesn't slide at all, so tilting and moving isn't possible. It's best to slide it onto a board or something similar to move it.
The setup process itself, typical of Bambu Lab products, is very easy.
You need to remove the AMS fixed inside and the numerous cushioning materials, so it's not quite as effortless as the A1 mini, but it requires absolutely no specialized knowledge; just removing things completes the setup. Adjusting the 3D printer itself involves following the initial setup program. Once linked to your account, you can start using it just like the A1 mini.
Overall, compared to the A1 mini which can be carried with one hand, it's much more demanding, but it's still very easy to set up for such a large piece of equipment.
Accessories & Printer Peripherals
Let's briefly look at the accessories.
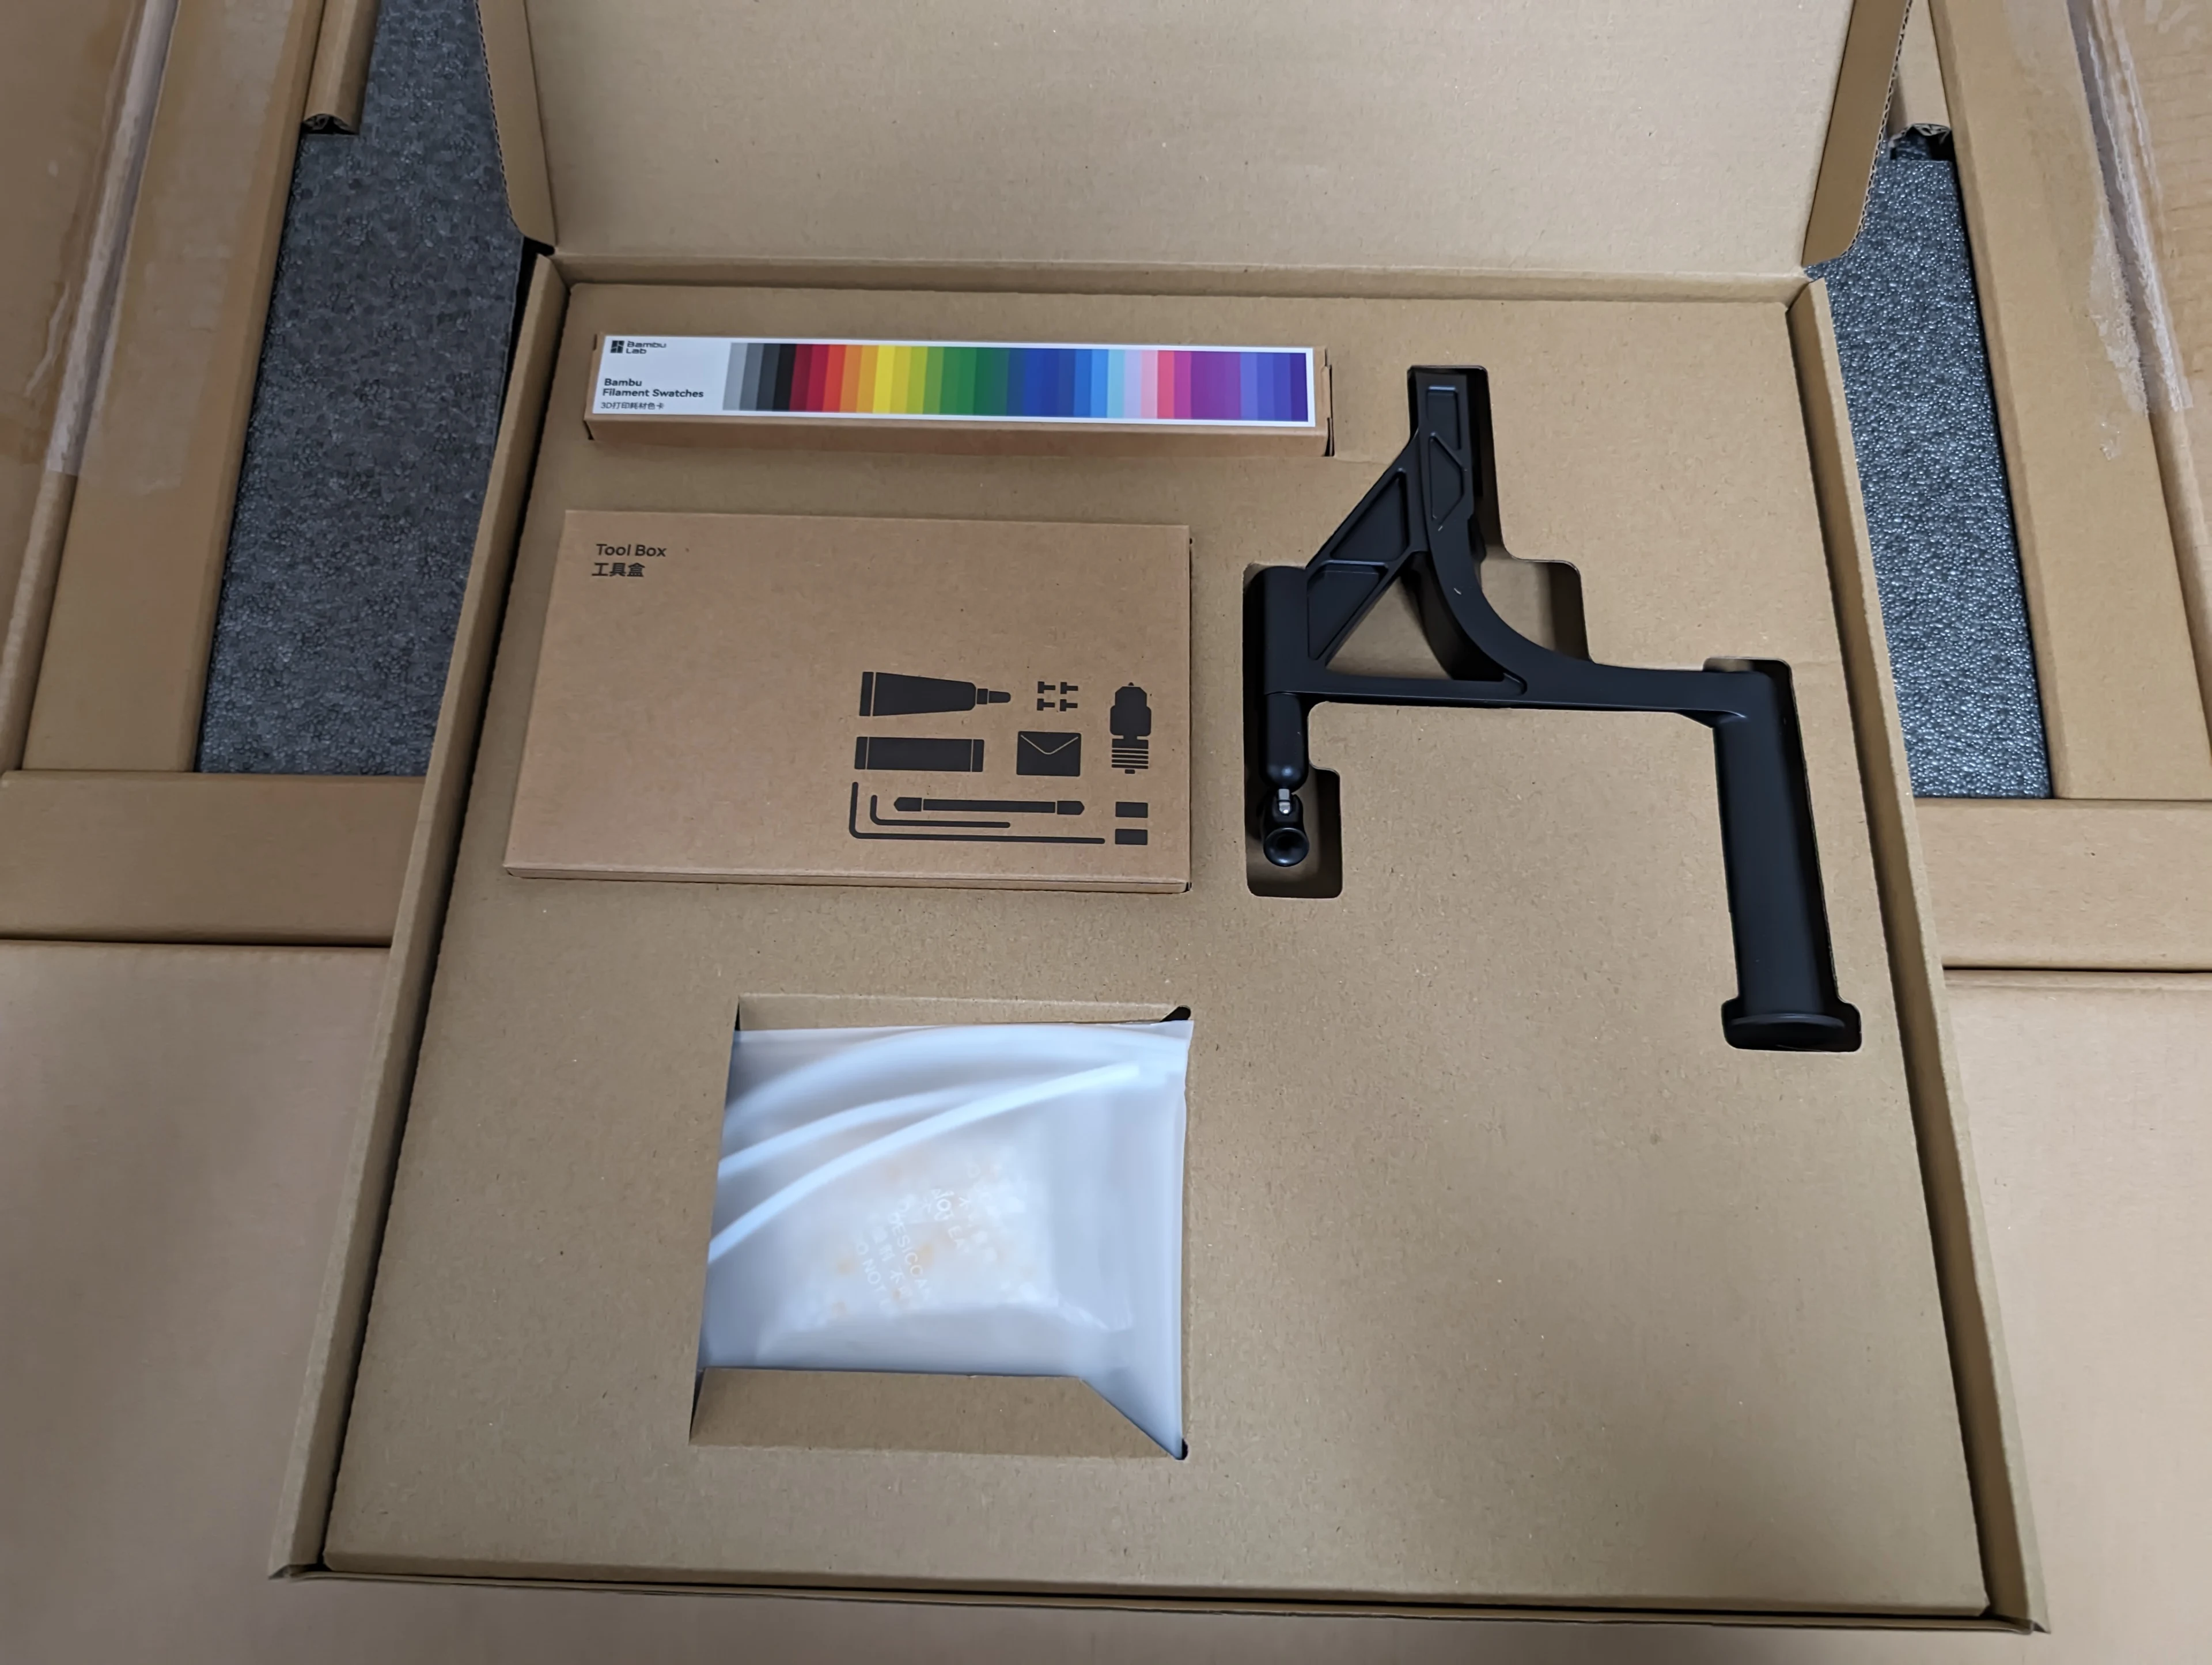
Accessory box
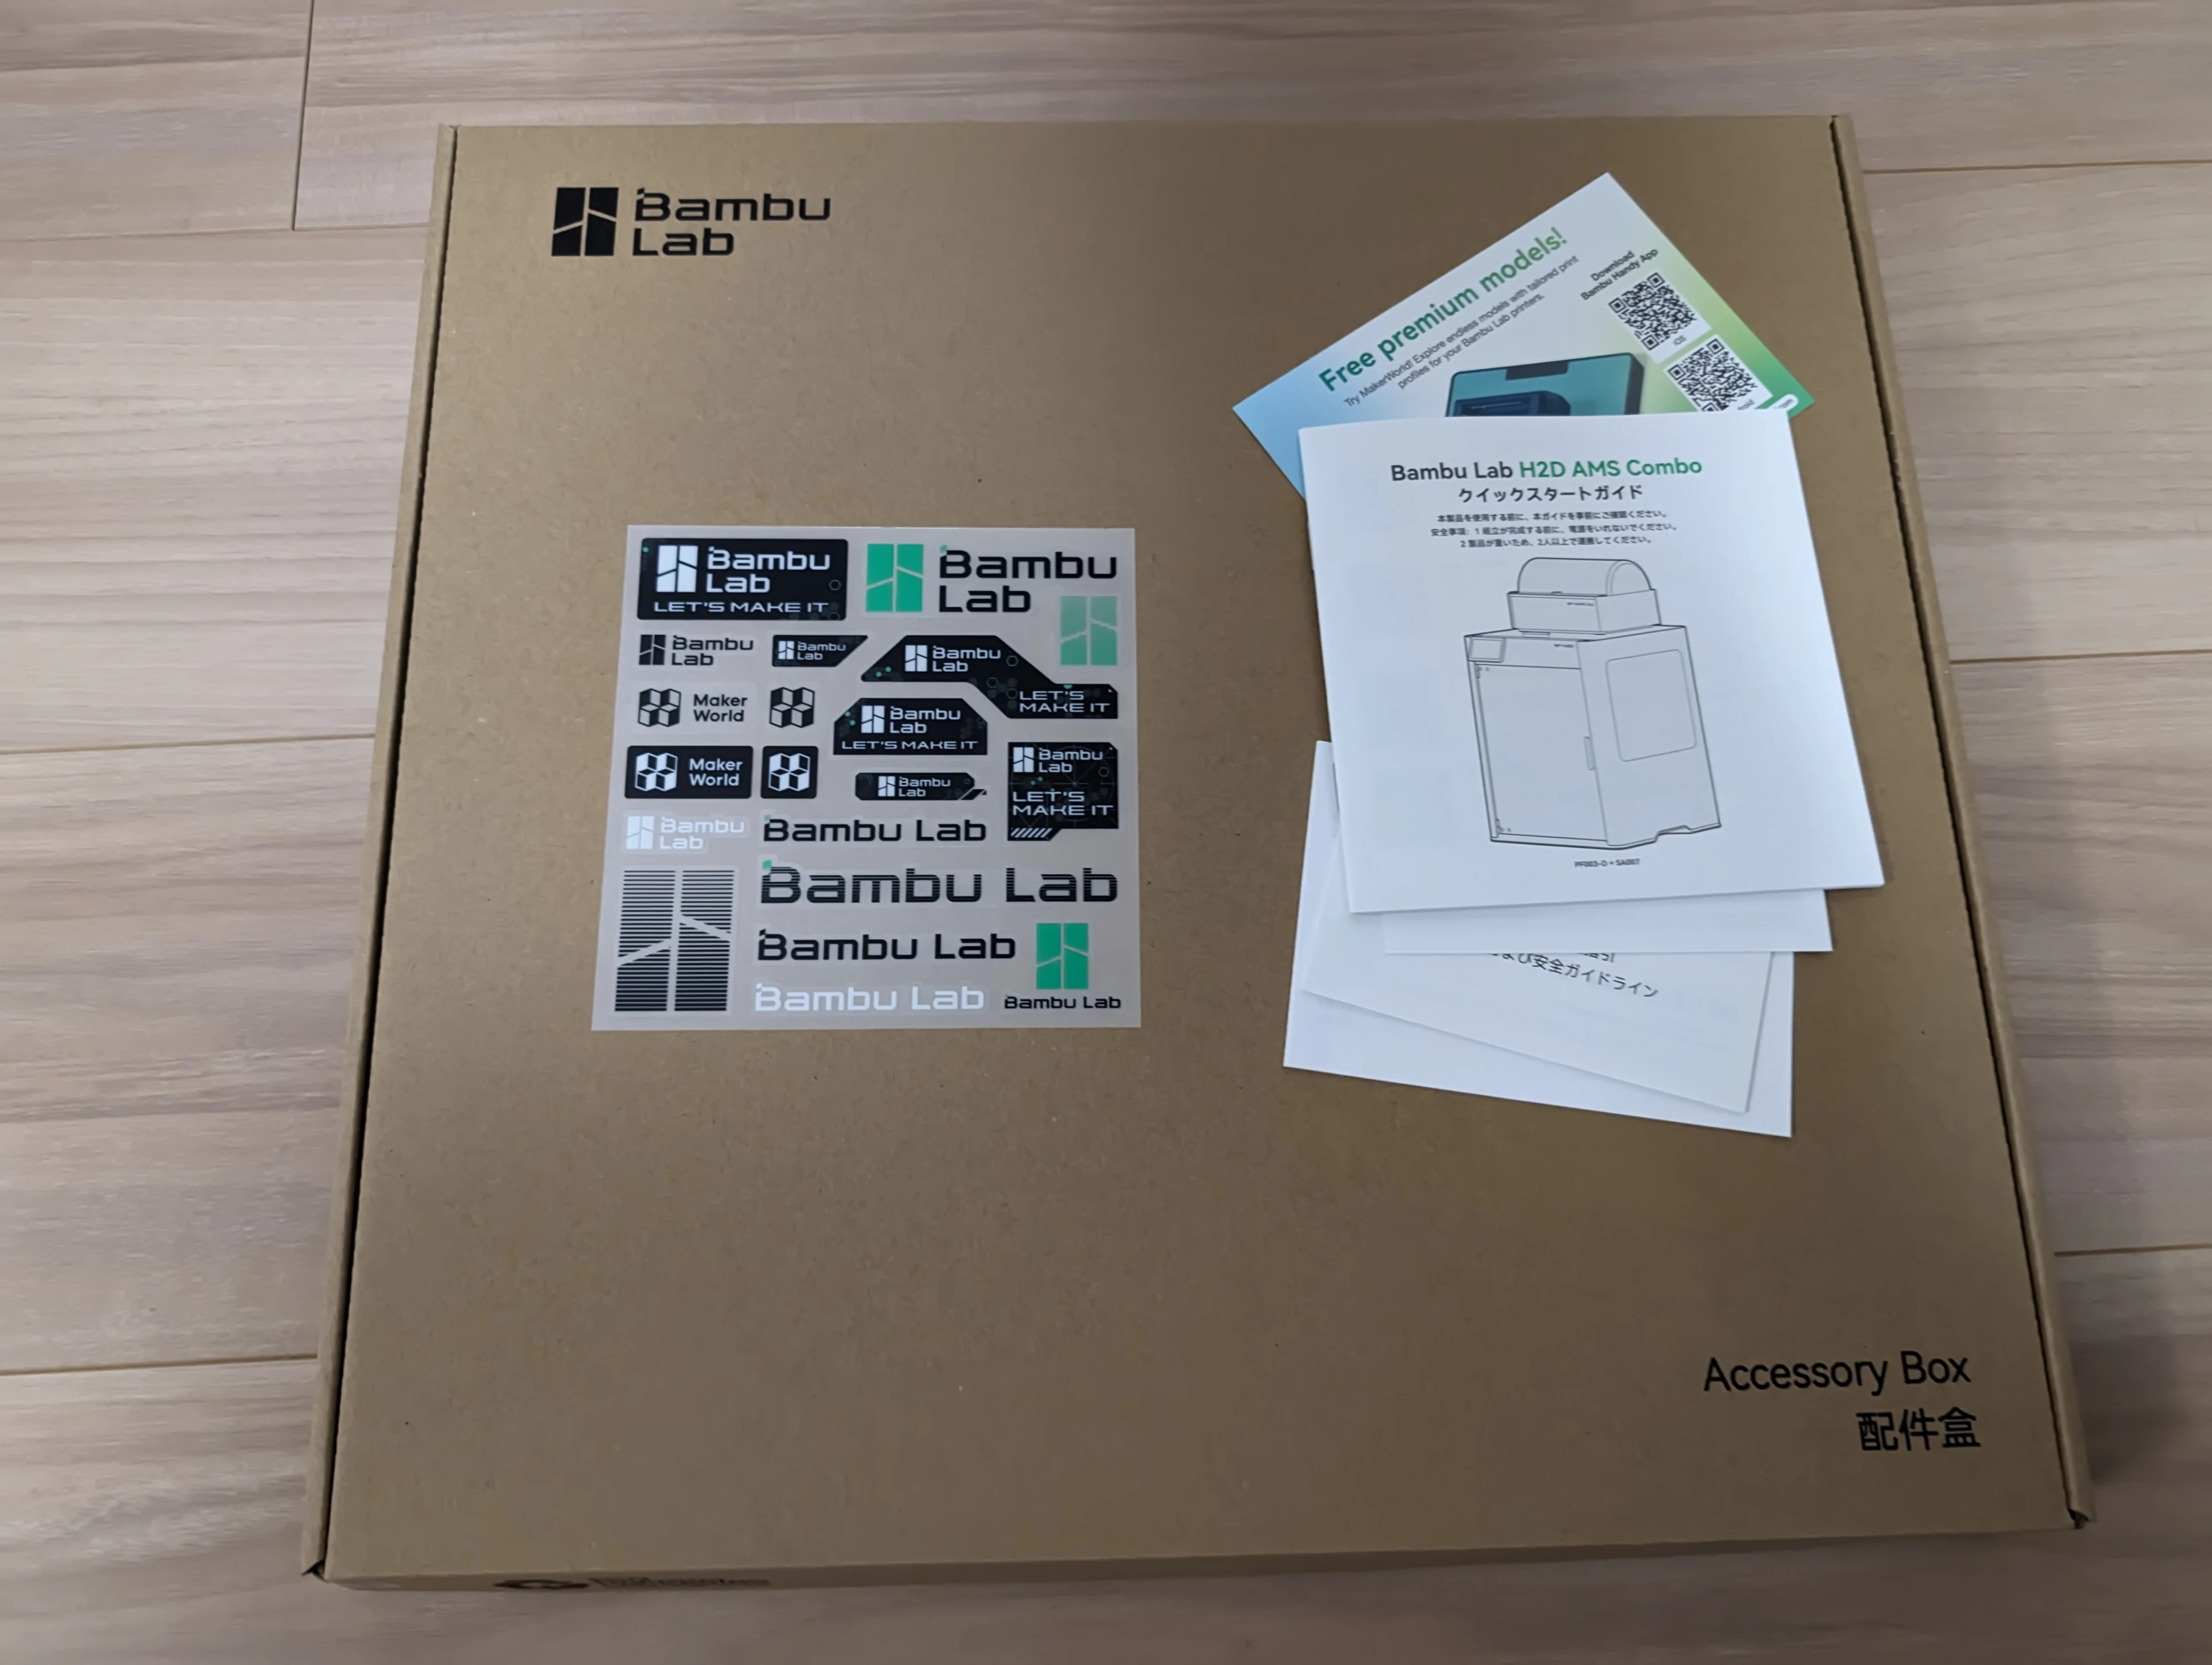
Manual and stickers
A large box is included, but the contents are relatively small.
It comes with a tool kit, similar to the A1 mini. It conveniently includes wrenches needed for setup. Various spare parts are also provided.
The external spool holder attaches to the main unit.
Color swatches are also included, which is nice. Beginner-friendly.
There's also a setup manual with slightly awkward Japanese (TN: This refers to the original Japanese text, the English manual should be fine) and stickers. I want to put the stickers on the printer, but somehow feel it's a waste and can't bring myself to do it.
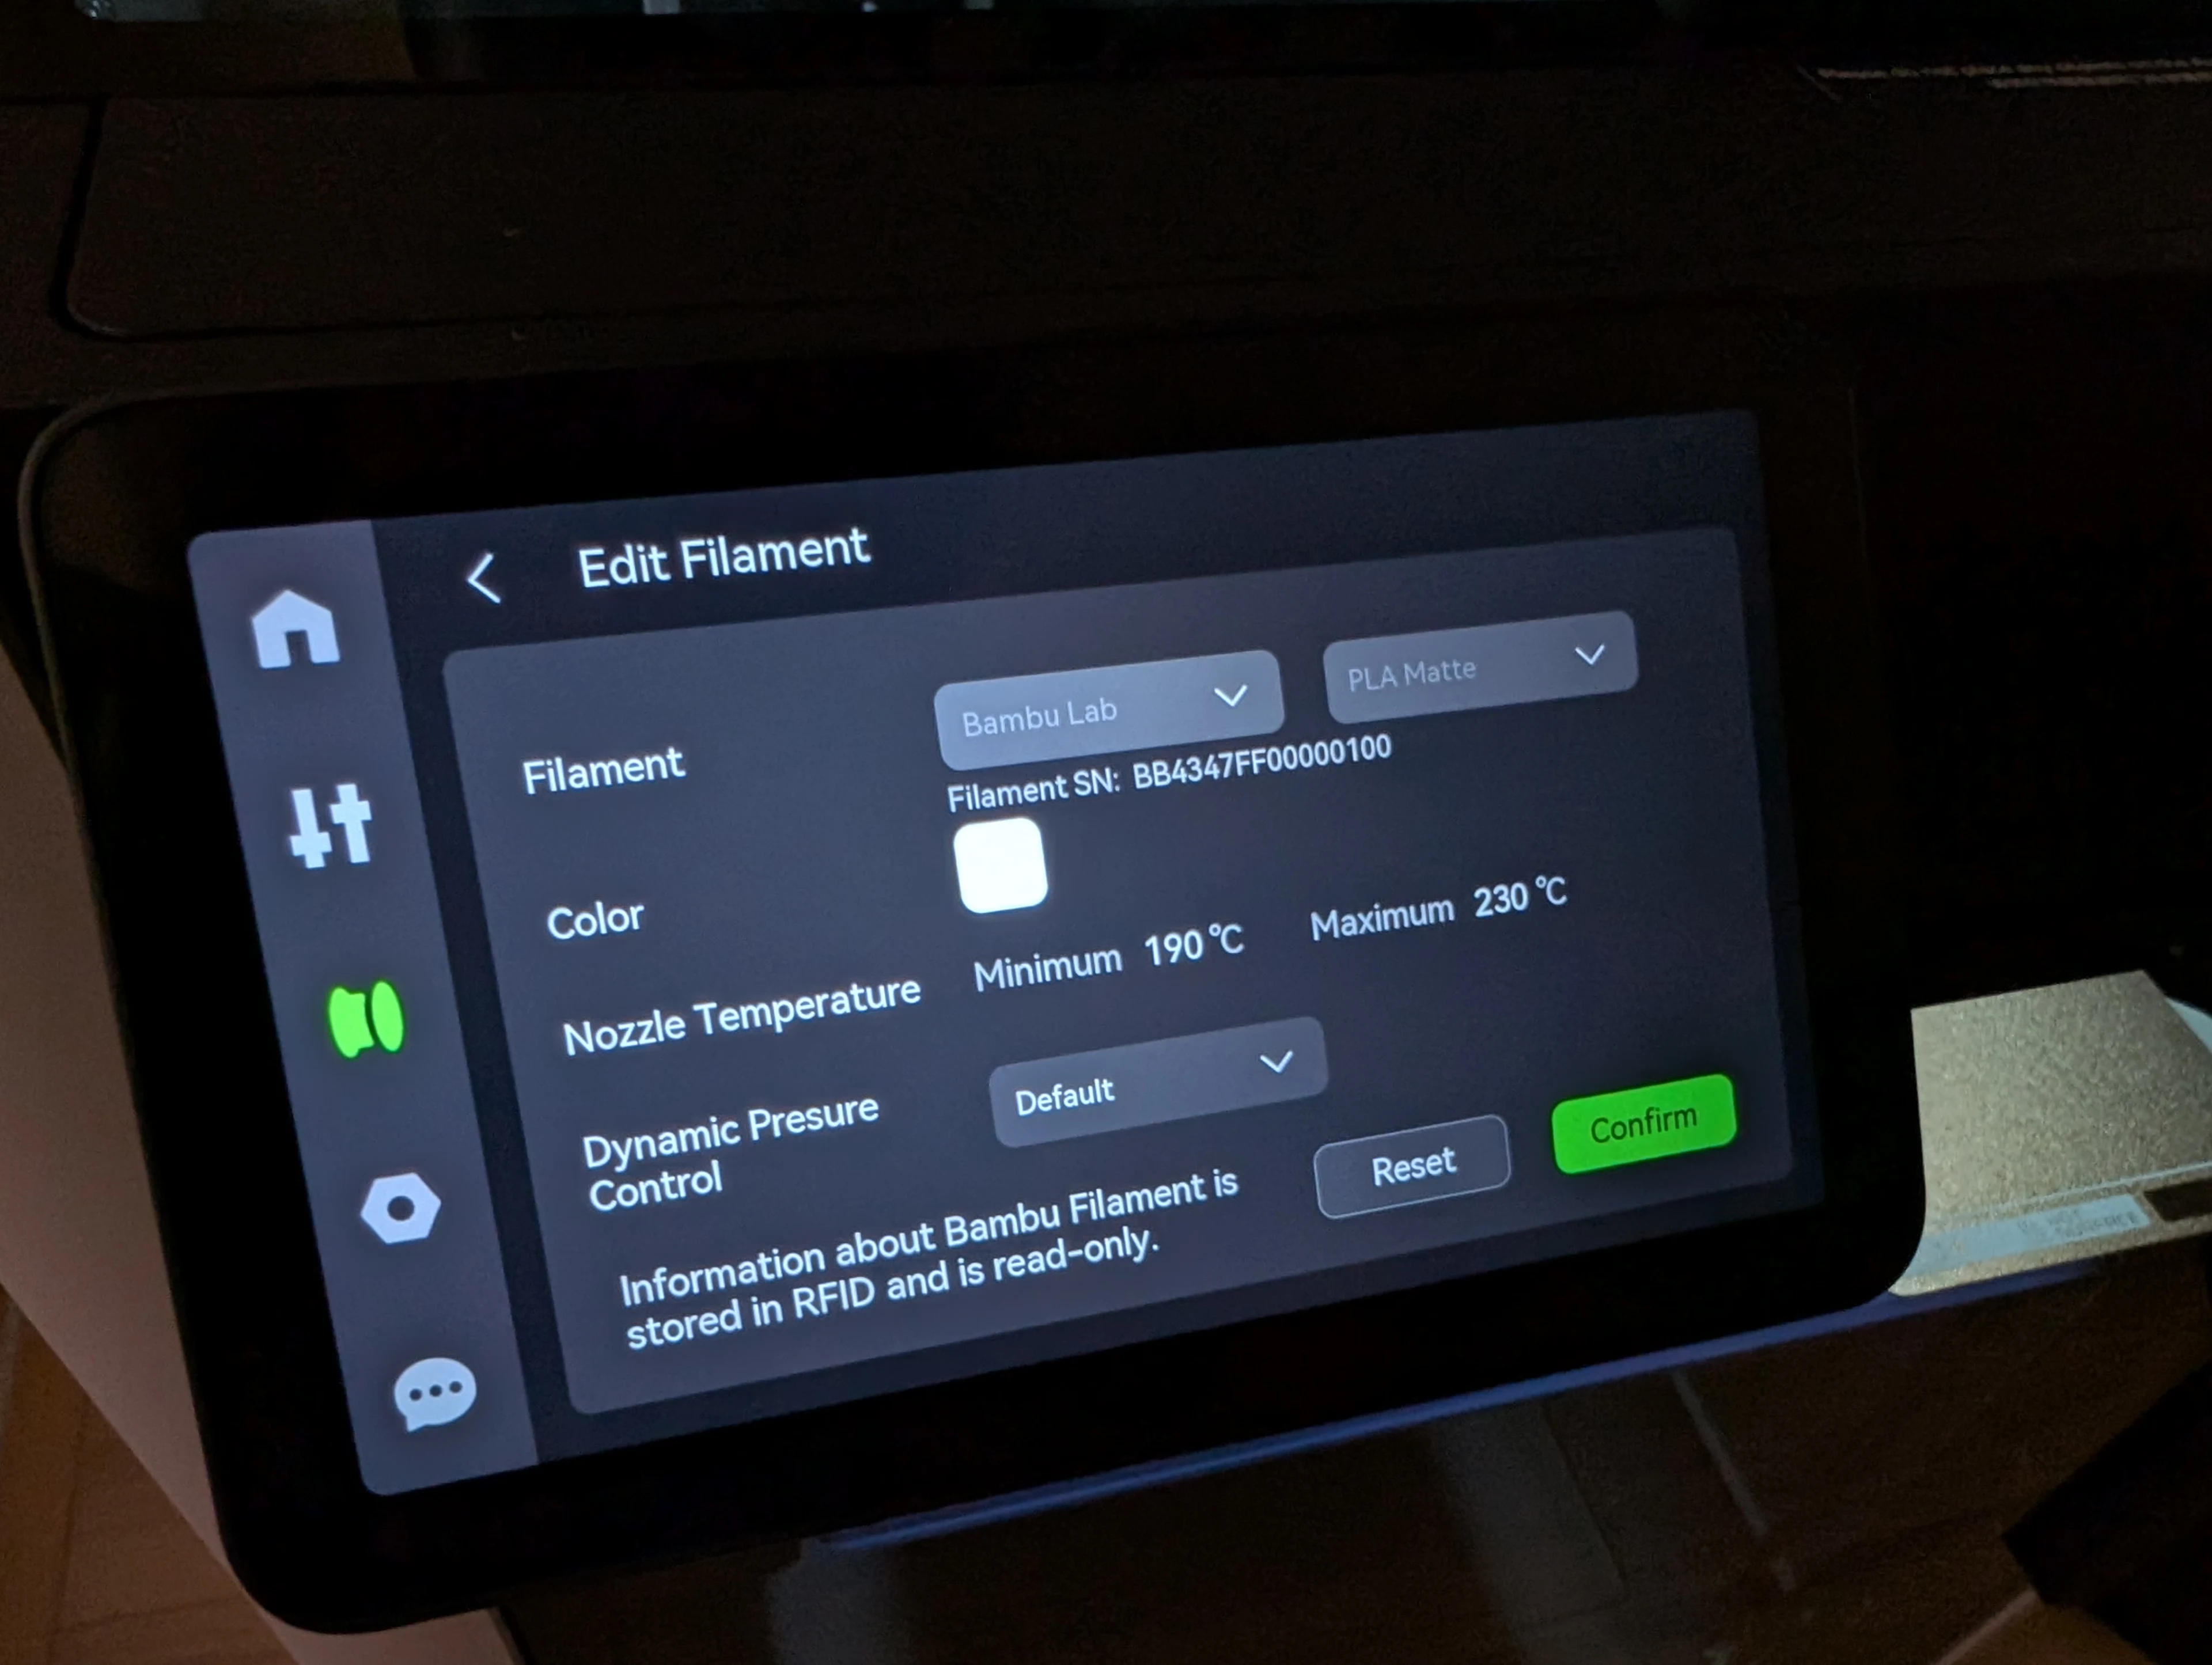
Nice screen
The H2D main unit has an LCD screen. The A1 mini also had a small touchscreen LCD, but this one is higher resolution and more vivid.
While I primarily operate it using Bambu Studio on the PC, thinking I wouldn't use it much... it actually proves useful for filament-related operations and troubleshooting errors.
Filament poop comes out from a hole in the back. It's one step closer to being human, right?
Since the position is fixed, placing a box underneath should make collecting the poop easy. You also need clearance for the exhaust port, so it works out well.
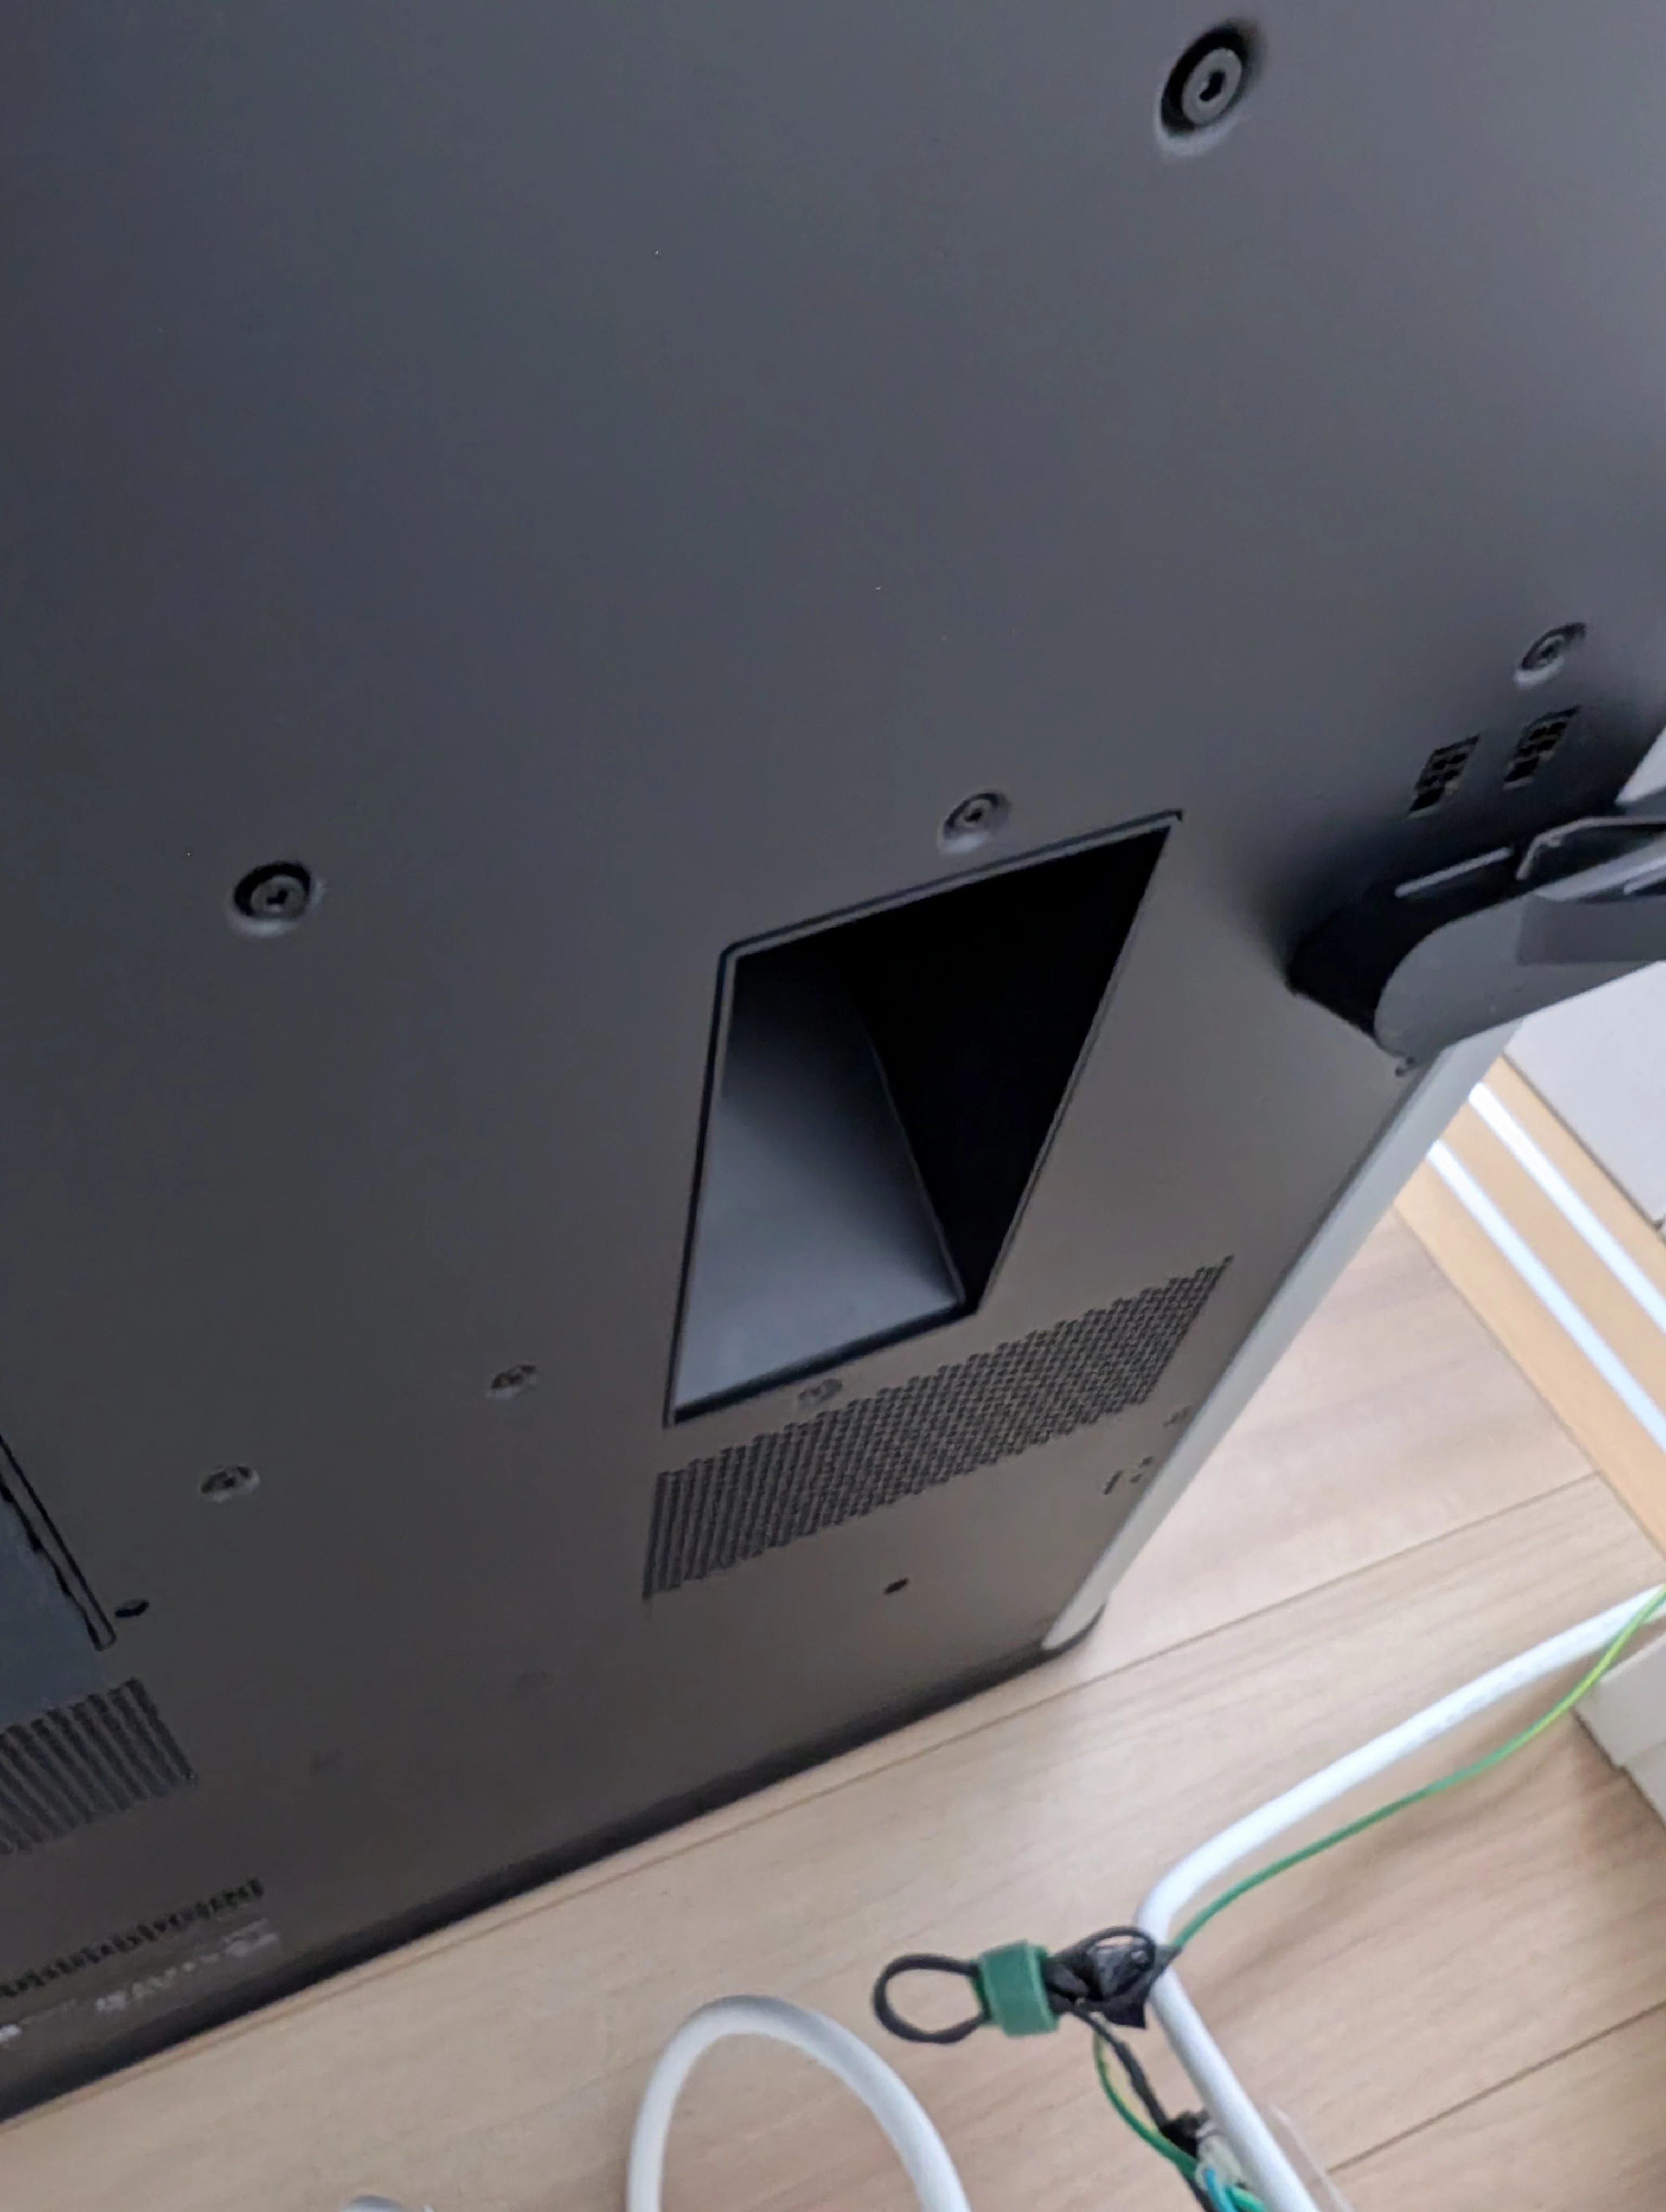
Machine getting closer to human
Sound & Vibration
From here, let's look at its usability while observing it in action, starting with the sound.
Compared to the A1 mini (which is a tough comparison), it makes quite a bit of noise. The sounds can be roughly divided into three types:
- Exhaust: Sounds like a full-tower PC running. Since it's constantly exhausting during printing, this sound is always present. It's quiet enough that you can barely hear it through one wall.
- Mechanical: Clanking sounds and motor noises occur during print preparation and filament changes, though these are brief. During printing operation, there's a kind of rumbling sound ("goto-goto").
- Nozzle Movement: When the nozzle makes large movements, there's a light scraping sound against the chassis. Very mechanical. This depends on what you're printing and the speed, so it varies, but it might be noticeable.
Overall, it's more noticeable than the A1 mini, but probably just enough to make sleeping next to it difficult. If placed behind a thin wall, it shouldn't be too bothersome in daily life. Please understand that I haven't compared it with other large 3D printers.
Regarding vibration, perhaps due to the excellent waterproof material (TN: likely meant anti-vibration material) on the bottom, I didn't feel any floor vibration even when the nozzle moved at high speed. As a result, the main unit itself shakes quite a bit. This is likely by design and probably doesn't affect print accuracy, but if you have something surrounding it, it might get knocked over.
Incidentally, the H2D has different sound effects for starting and finishing prints compared to the A1 mini. Do different models have unique sounds? The H2D's are a bit more subdued.
Smell
With the A1 mini, as mentioned earlier, the burnt-like smell when printing PLA bothered me.
With the H2D, the only smell is the warm air coming from the exhaust port; I couldn't detect any filament scent. To compare again, it's like PC exhaust. It just has a mechanical smell, and I didn't find it problematic living next to it. It seems ventilation might not be necessary for filaments like PLA.
If you happen to enjoy sniffing filament or solder fumes, I wouldn't recommend it, but this is a clear advantage of having an enclosure.
It would be best to test this by printing ABS, but I don't have any on hand, so I'll try it eventually.
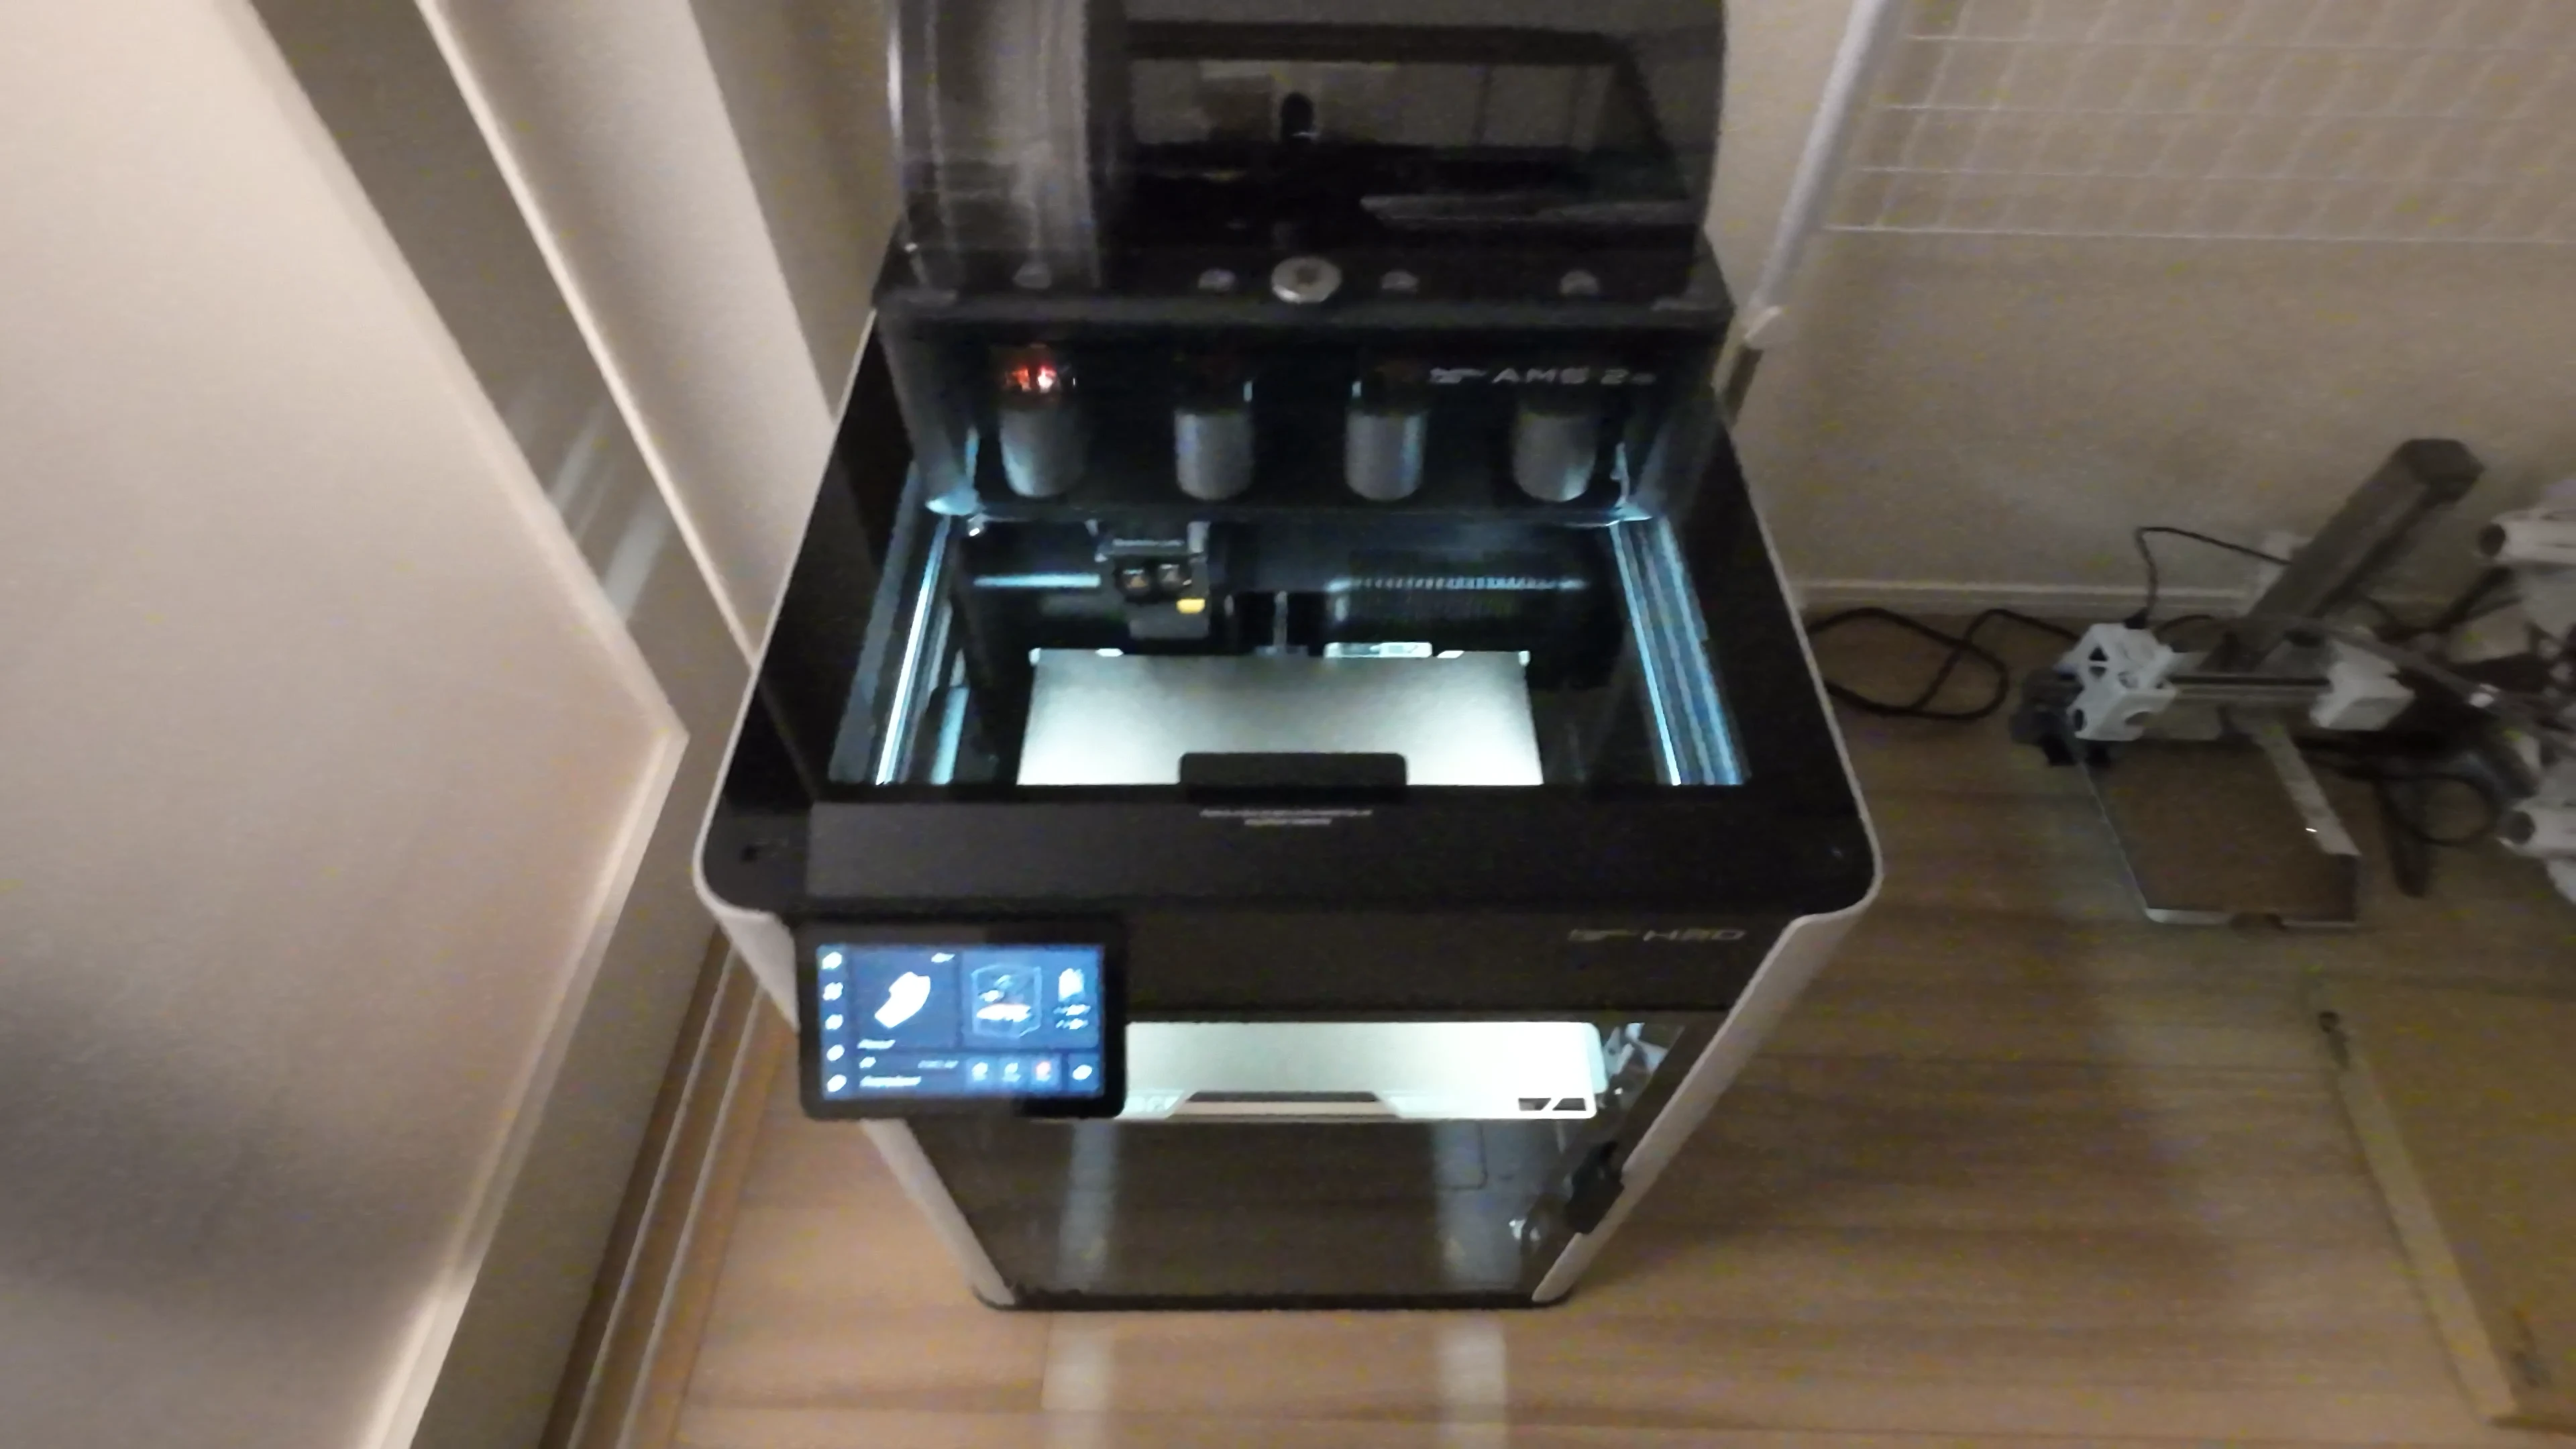
AMS 2 Pro
Let's look at the AMS 2 Pro, released concurrently with the H2D. Since I've only interacted with the AMS Lite before, the specifications are quite different.
Please forgive me if I mention features that are standard on the original AMS.
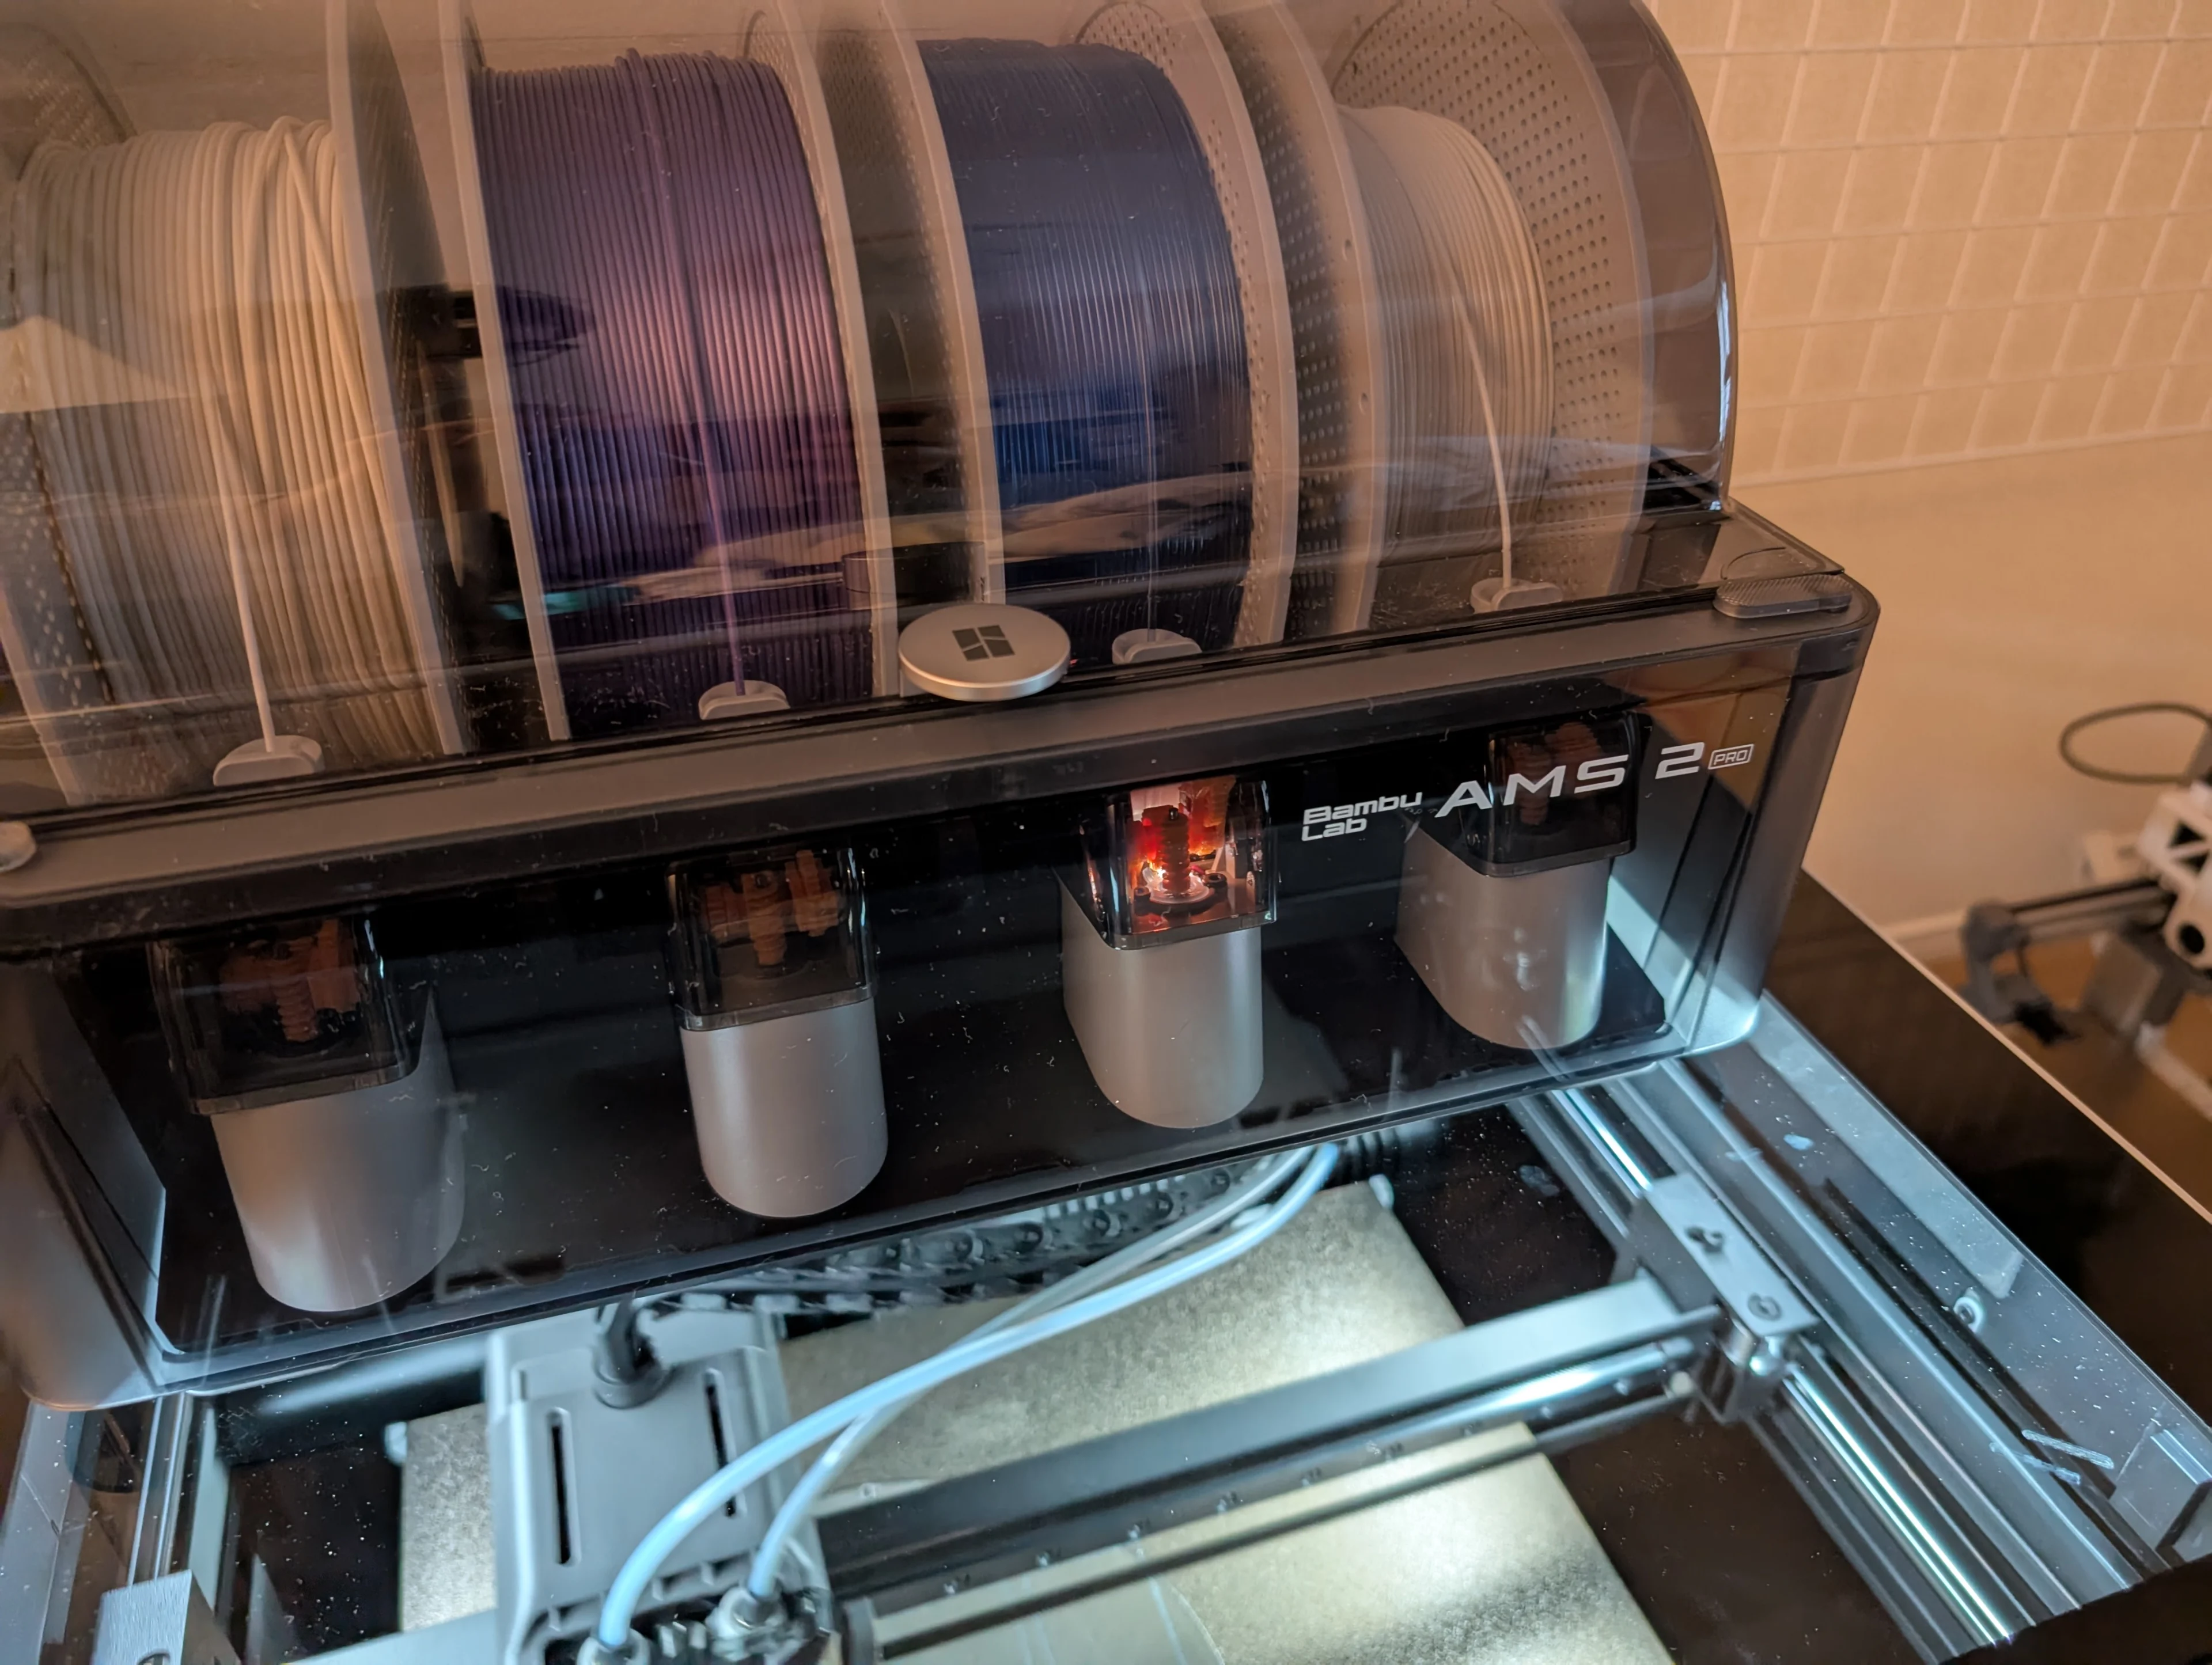
The port for the filament being used lights up
First, the rotation speed is incredibly fast. If the AMS Lite fed filament at a walking pace, the AMS 2 Pro is like a motorcycle weaving back and forth. Seeing it in action makes it very clear (I'd like to upload a video somewhere).
Placing filament into the AMS is smooth enough to be done with one hand. Removing filament from the tube with the AMS Lite required both hands, so compared to that, it's much easier.
Also, inserting and removing the PTFE tube is extremely smooth. The A1 mini's insertion port was quite stiff, requiring a special tool for removal, but with the H2D, it can be inserted and removed very easily.
Furthermore, things that were unknown with the Lite, like humidity and remaining filament amount, can now be seen. This is incredibly convenient.
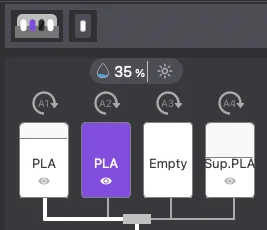
Humidity and remaining filament amount are also visible
And then there's the flagship drying function. It provides peace of mind when drying before an important print or using moisture-sensitive filaments.
I tried running it for an hour. You can easily set the material type and time via the touchscreen.
The operating noise isn't too bad, probably less than during printing. There is an exhaust sound, so sleeping next to it might be difficult, but it's completely inaudible through a wall. Perhaps the noise level changes depending on the temperature.
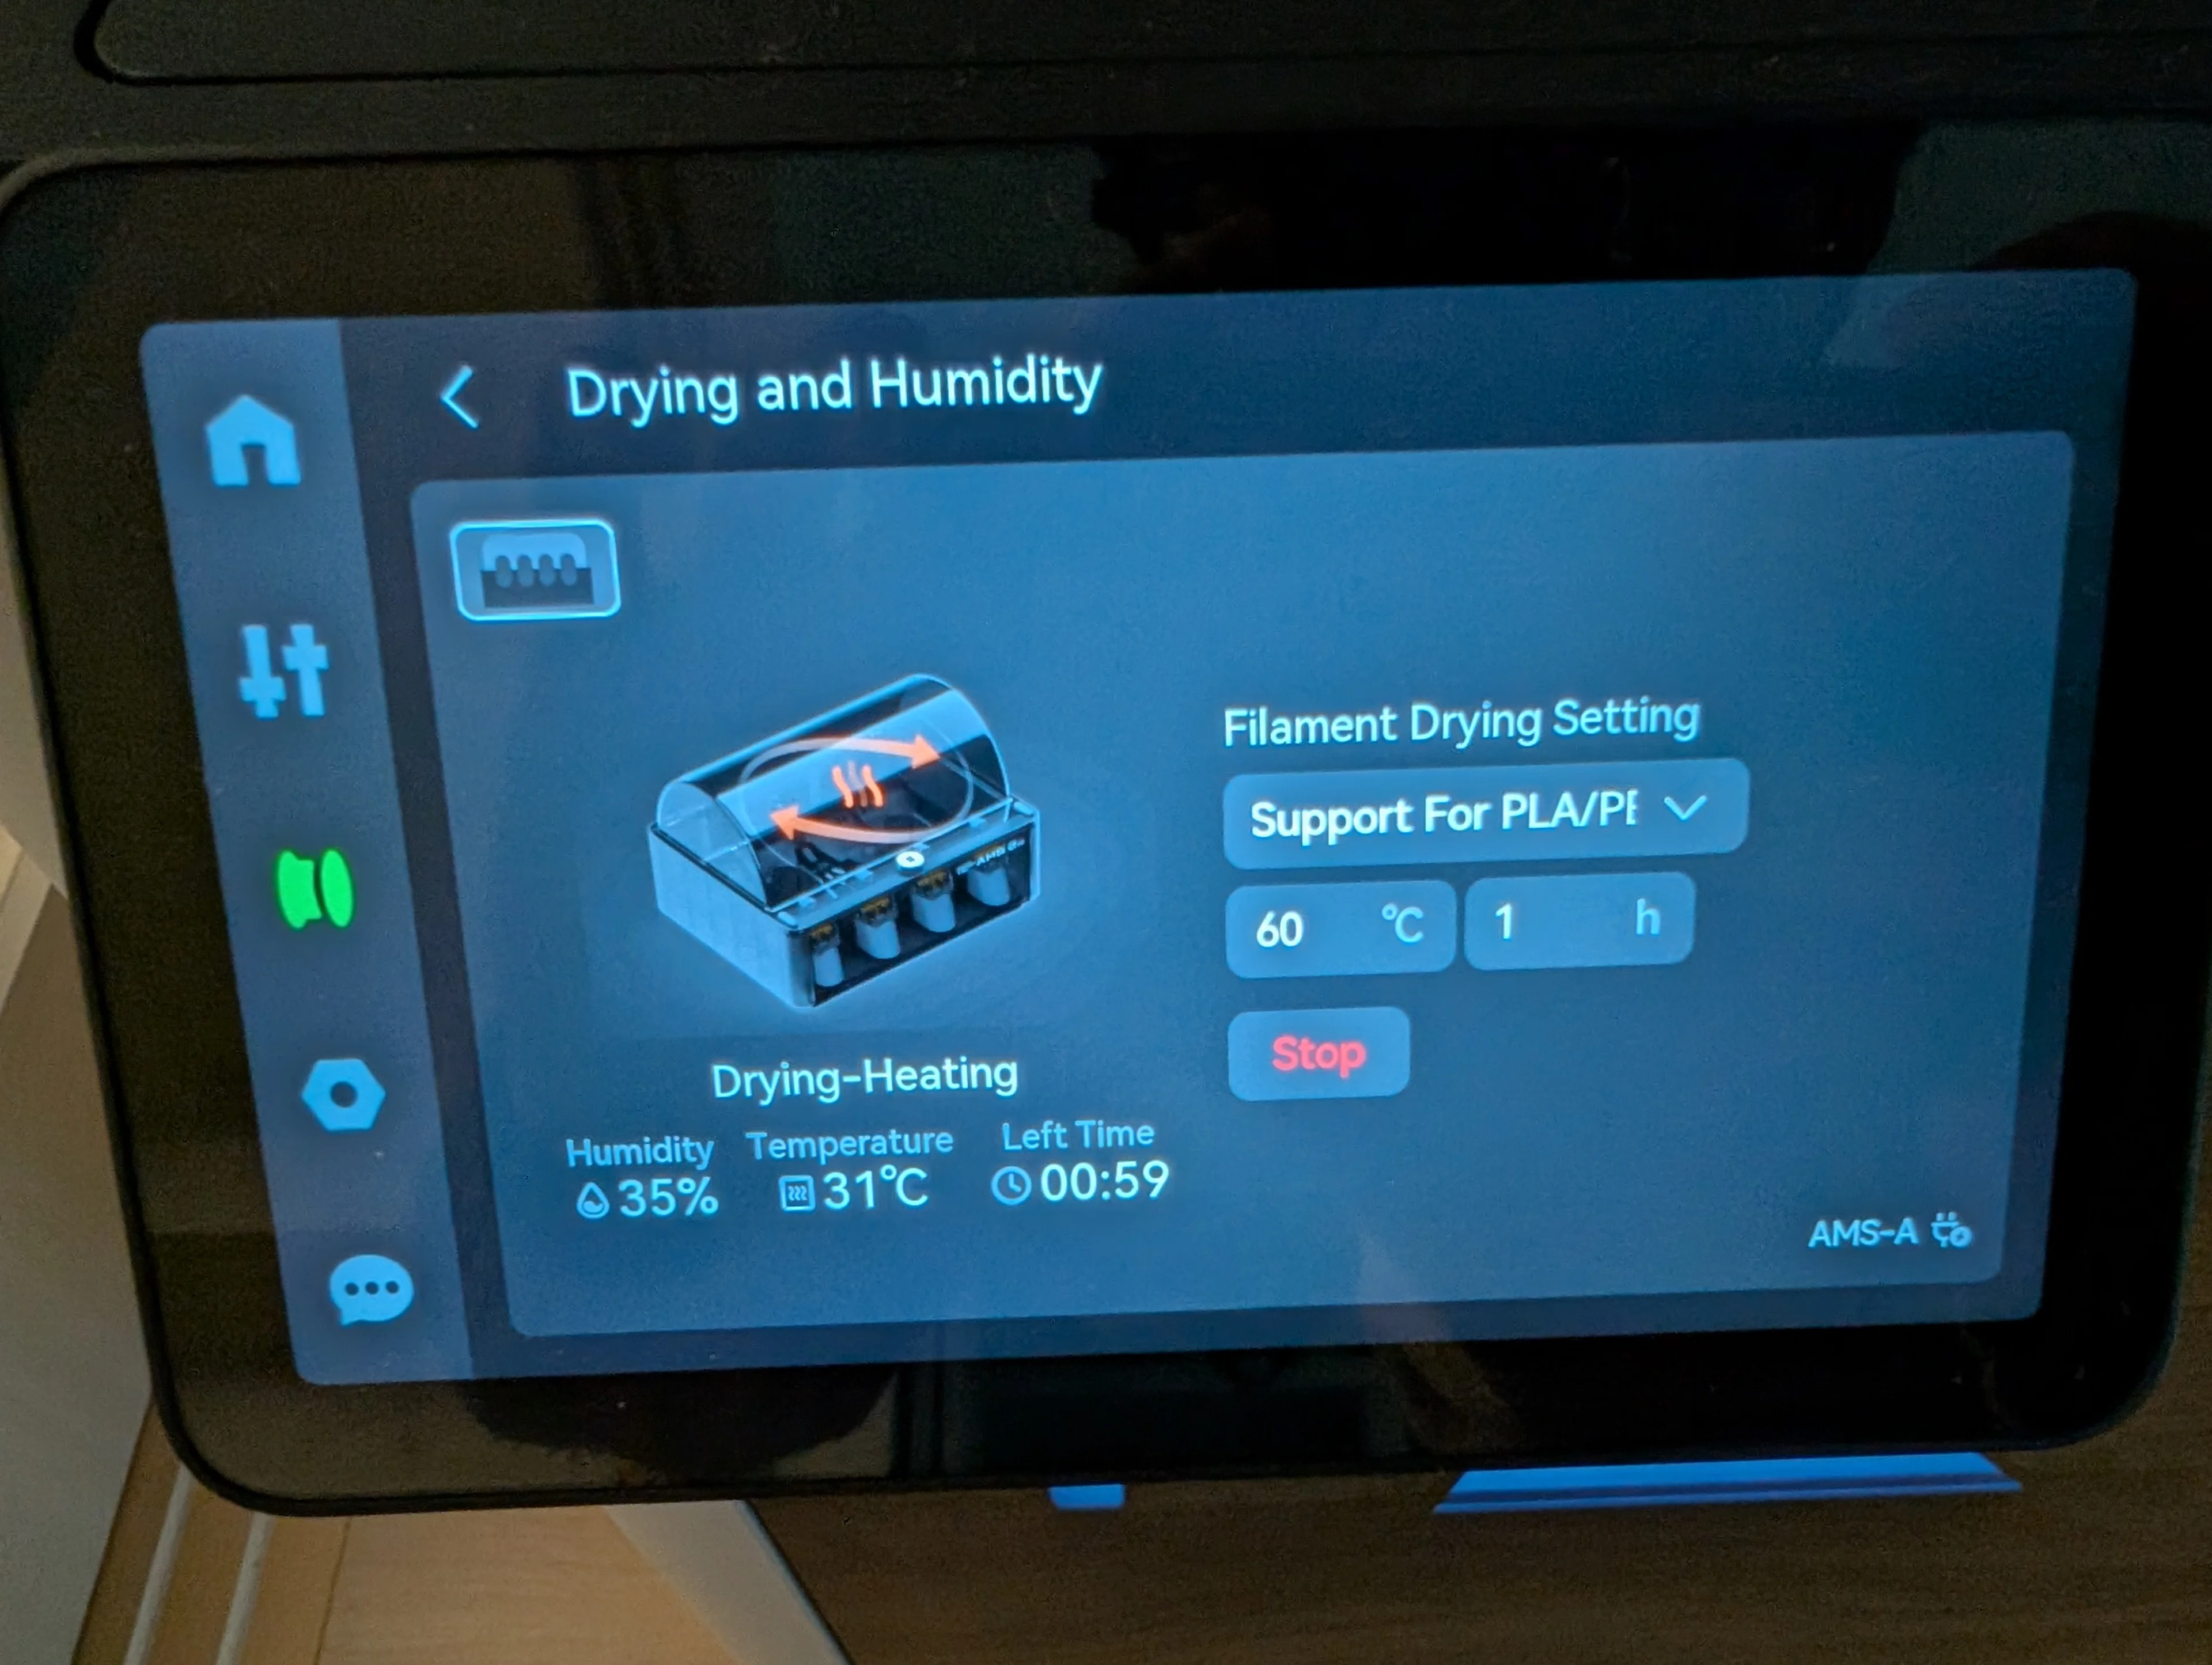
Drying settings
Before starting, you need to remove filaments that don't match the temperature, unload the filament from the AMS, and attach the end back to the spool. During operation, it rotates slightly.
Note that drying cannot be done during printing, and it's not fully compatible with filaments requiring high temperatures like ABS, or soft filaments. This is mentioned in the FAQ.
The AMS 2 Pro has two 6-pin ports, allowing you to connect AMS units in series.
There are several ways to connect them, which I'll introduce again after discussing the dual nozzles.
Dual Nozzles
Next, let's look at the star feature: the dual nozzles. First, let's review the basic configuration.
At the back of the main unit, there are a total of three nozzle inlets. The inlet determines which nozzle the filament comes out of: left nozzle, right nozzle, and a dedicated inlet for soft materials like TPU. Only one tube can be inserted per nozzle path.
I tried a bit of multi-color printing, and it switched nozzles effectively, allowing for speedy printing.
There was no waste from switching, but a purge tower was still created, so waste cannot be completely eliminated.
AMS and Dual Nozzles
Since the main unit has only one 6-pin AMS port, the basic setup involves connecting AMS 2 Pro units in series.
If you have two AMS units and want to use each for a separate nozzle, the wiring would look like this:
- AMS 2 Pro (1) 6pin -> Main unit
- AMS 2 Pro (1) tube -> Nozzle inlet 1
- AMS (2) 6pin -> AMS 2 Pro (1)
- AMS 2 Pro (2) tube -> Nozzle inlet 2 (TN: Corrected reference from AMS 2 Pro (1) to (2) based on context)
In this configuration, filaments from different AMS units can be used simultaneously (one per nozzle).
Note that if you want to do multi-color printing using filaments from different AMS units through the same nozzle, a hub would likely be necessary.
Thus, even when using AMS, which nozzle can use which filament is fixed, meaning you can't freely switch between everything connected.
Therefore, planning which nozzle will use which combination to some extent can reduce the hassle of swapping.
For example, if using AMS 2 Pro on the right nozzle and an external spool on the left nozzle, you might keep support filament on the external spool and use the AMS for color switching.
If you want humidity control for both, you'd want another AMS unit. This is Bambu Lab's trap.
Other Features

Shiny
During printing, the LED under the plate lights up. The color changes depending on the status, very mechanical.
When the main unit is powered on, the light turns on, but it can be set to enter sleep mode after a certain period, turning off completely. It should be fine even in a bedroom.
The light not only allows for clear progress monitoring via the internal camera but is also used for the function that detects and stops printing upon finding spaghetti or print abnormalities. In essence, the image recognition accuracy has improved.
I haven't had this feature activate yet, but I'll check it after using it for a while.
The main unit has a USB port. Recording time-lapses requires a USB memory stick inserted into the unit. Since this memory is also used for caching print files, it's particularly useful if you repeatedly print the same object.
Print Samples
As I mentioned at the beginning, I haven't experimented much with printing yet, so I plan to summarize that separately. For now, let's look at some test prints.

Ship floating on a vast ocean
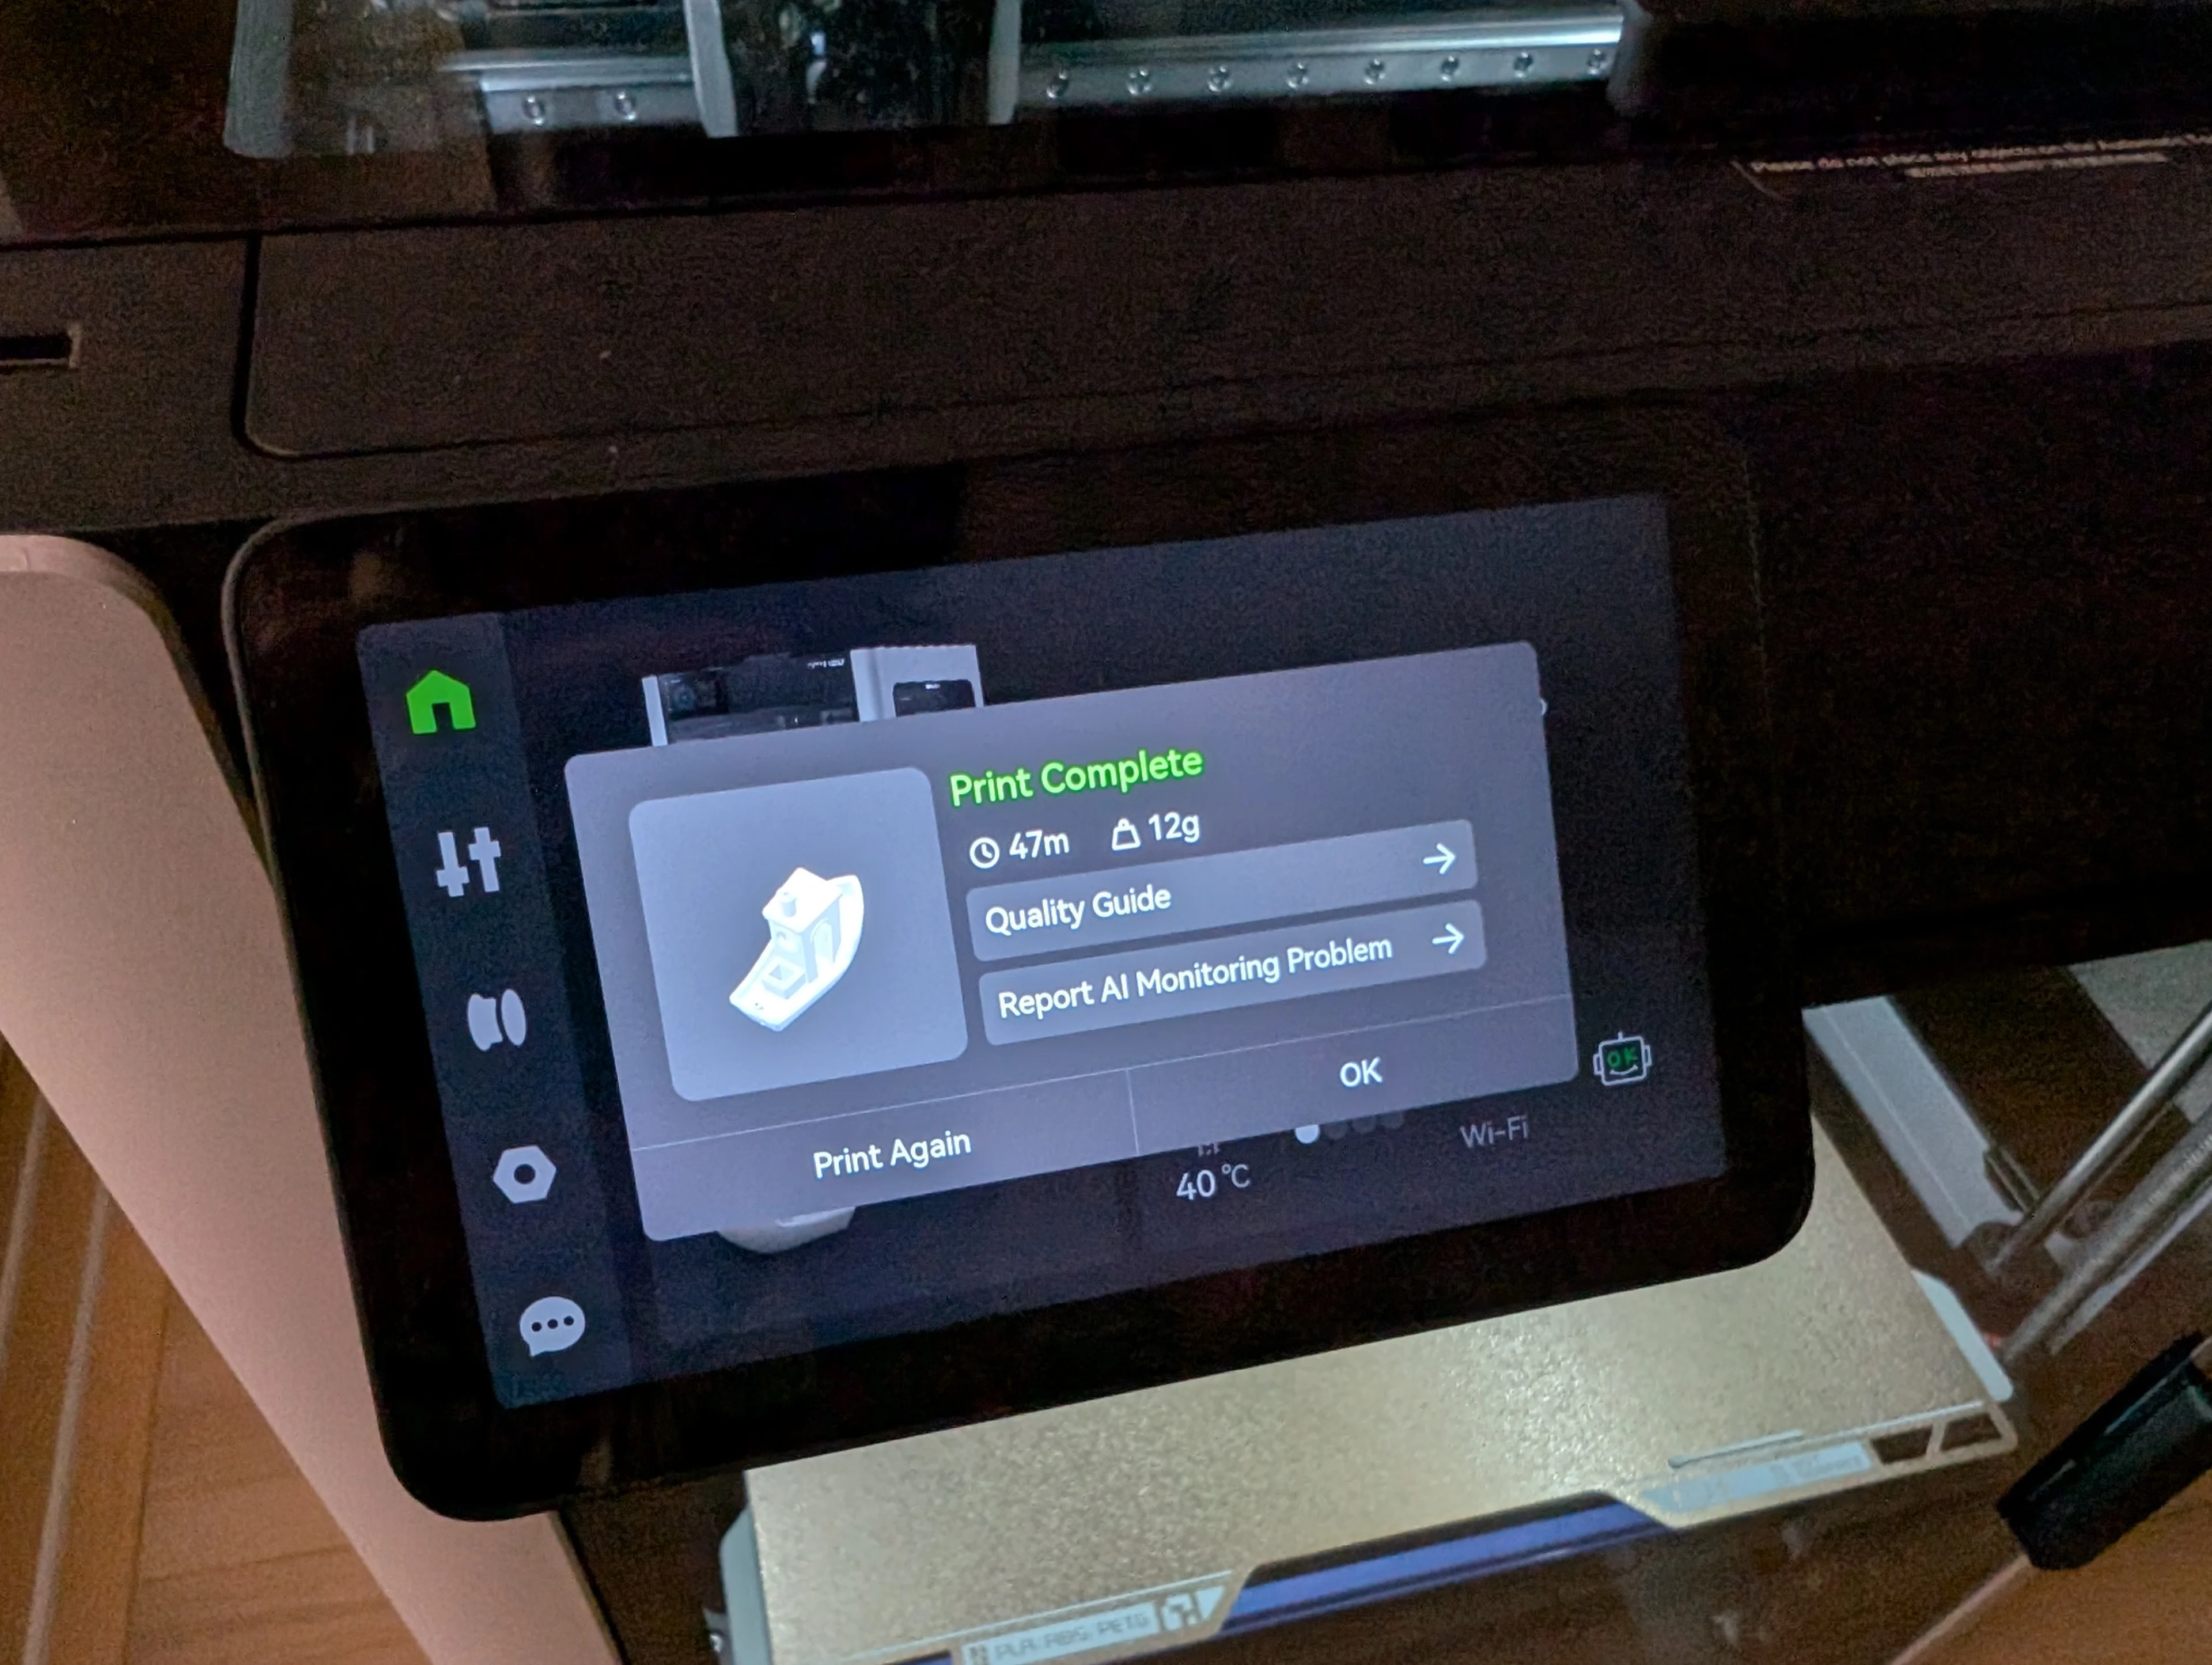
Completion screen
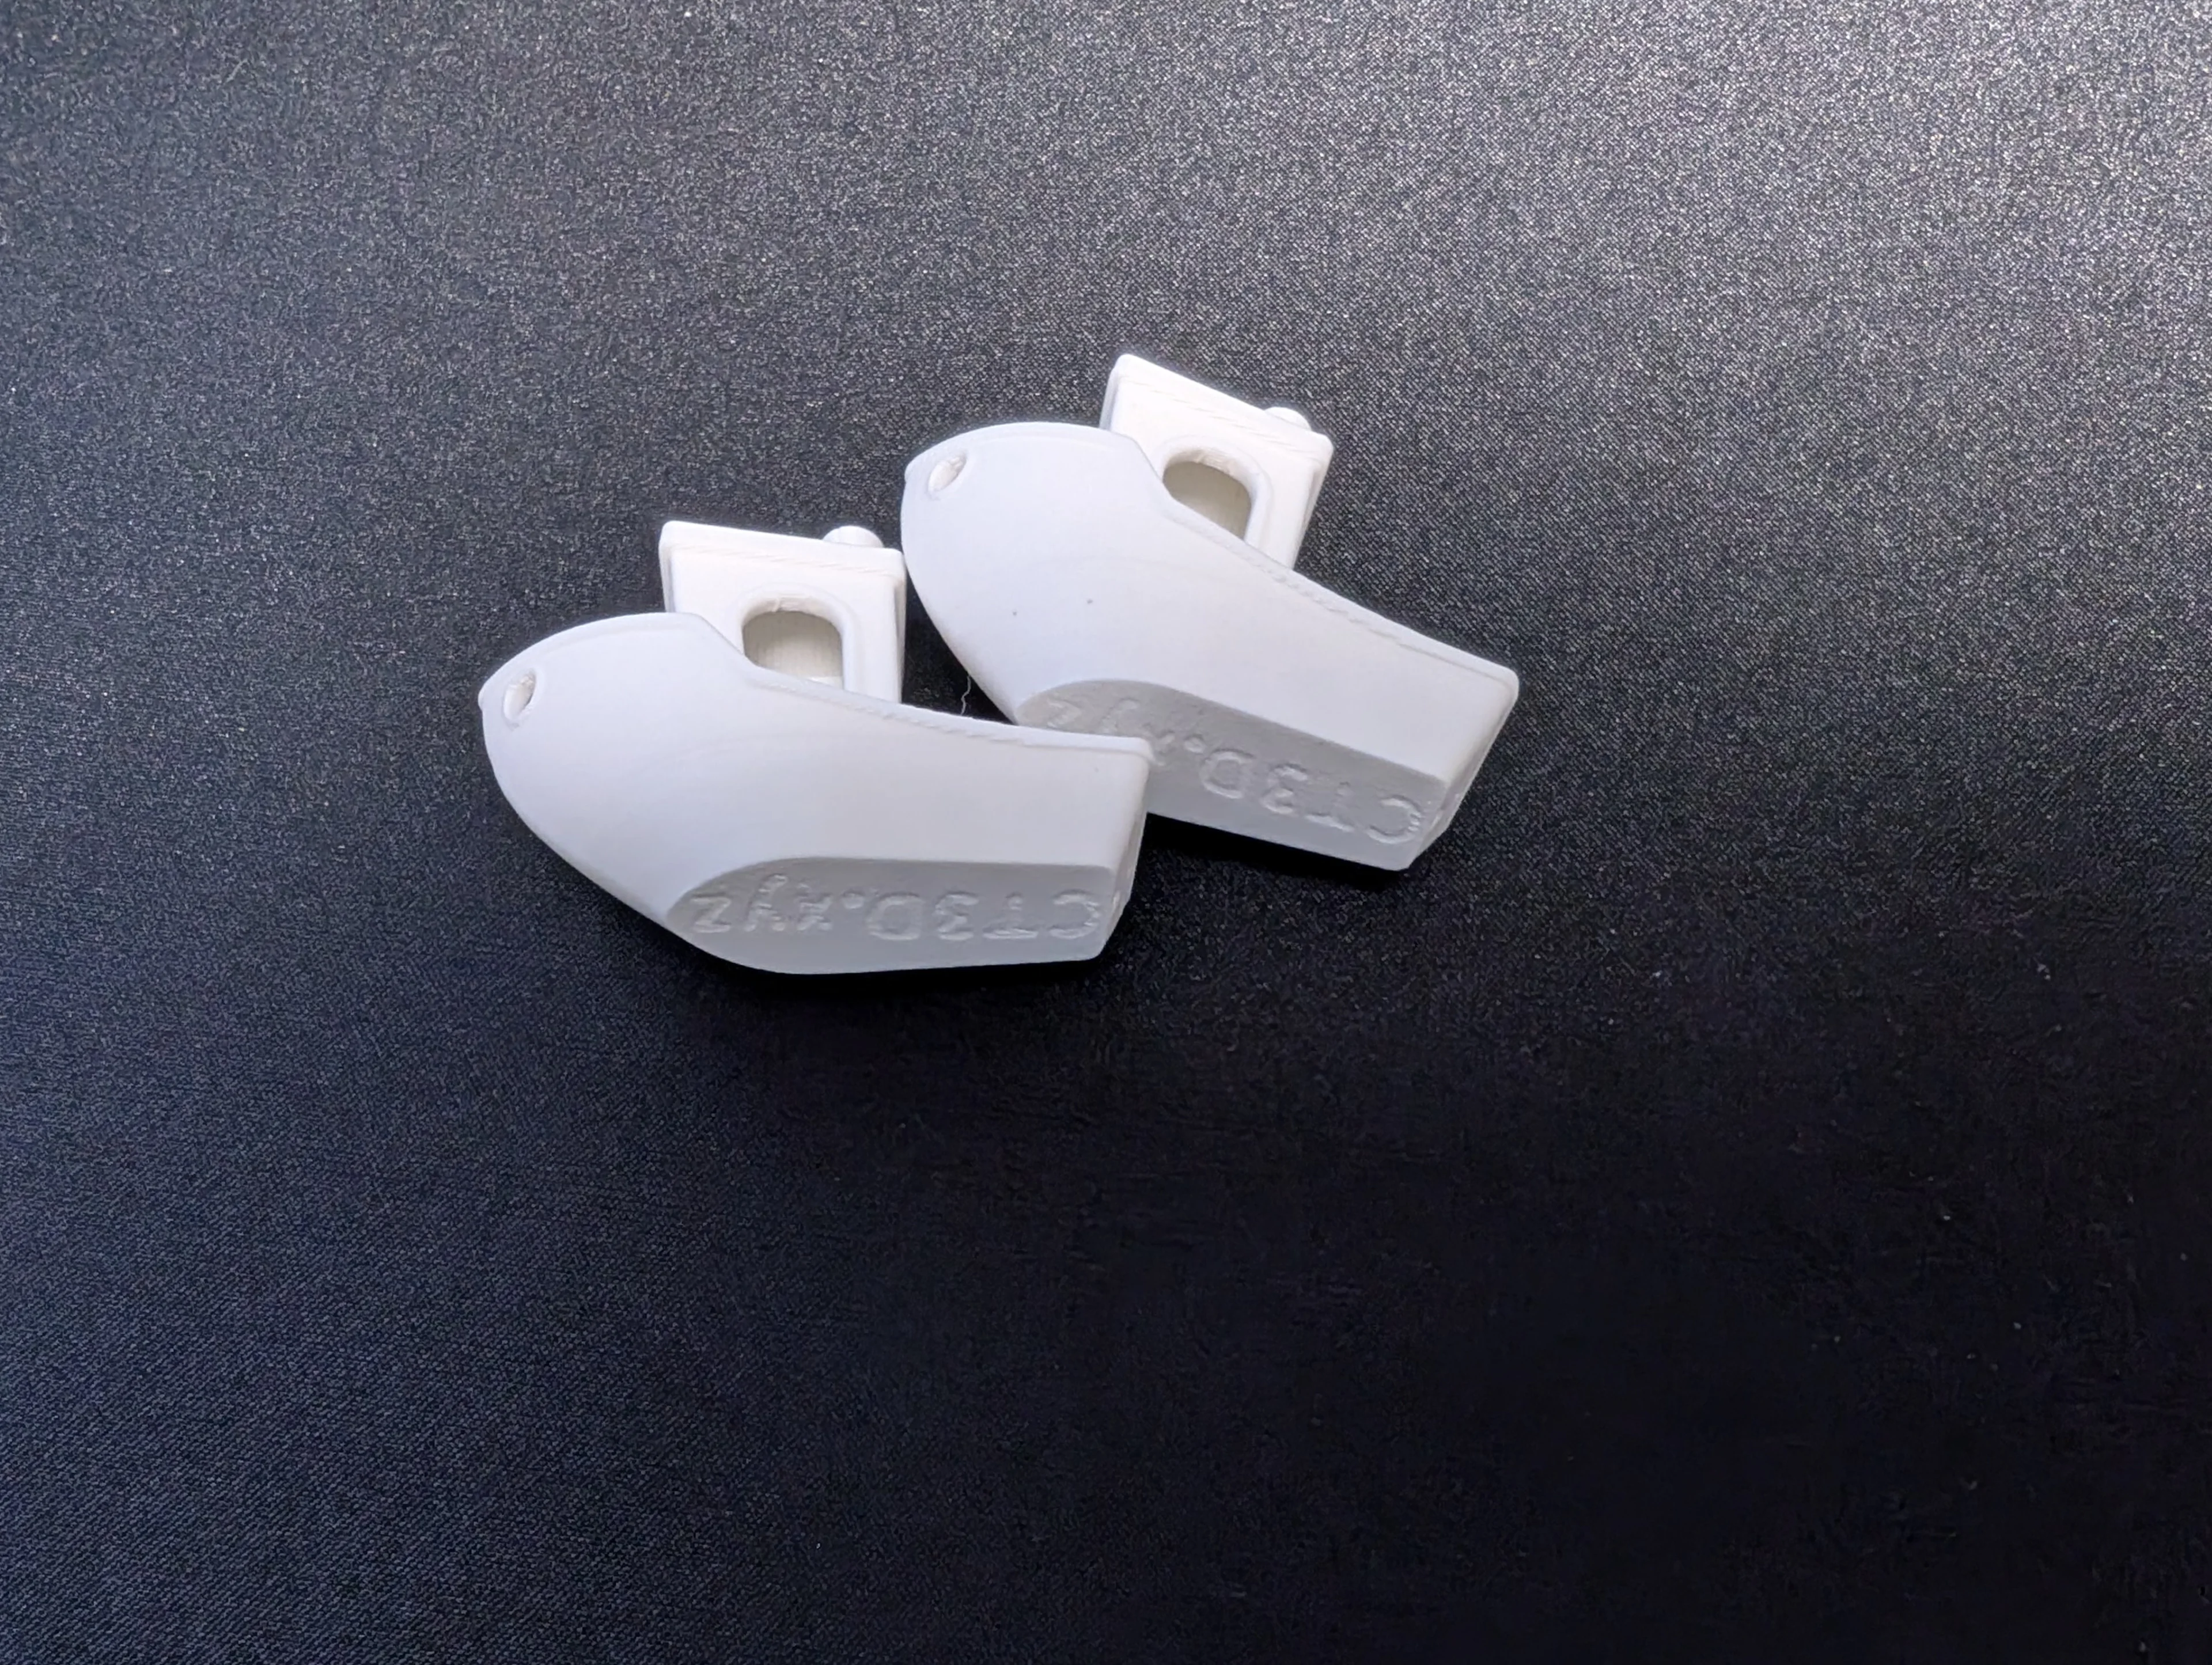
A1 mini product vs H2D product
The classic Benchy. I downloaded the STL file and printed it without adjusting settings. The filament is Bambu Lab PLA Matte.
Comparing it with the A1 mini, there's no significant difference in quality at first glance. The speed wasn't drastically different either. Looking closely reveals differences in print accuracy, but comparing it with an A1 mini that has been running for a long time doesn't feel entirely fair.
Another print: I ran out of filament spools, so I printed the official Bambu Lab spool. This exceeds the A1 mini's size capacity, so no comparison is possible. The shape isn't particularly complex, so it printed fine with standard settings and no supports. There's still plenty of room even at this size.
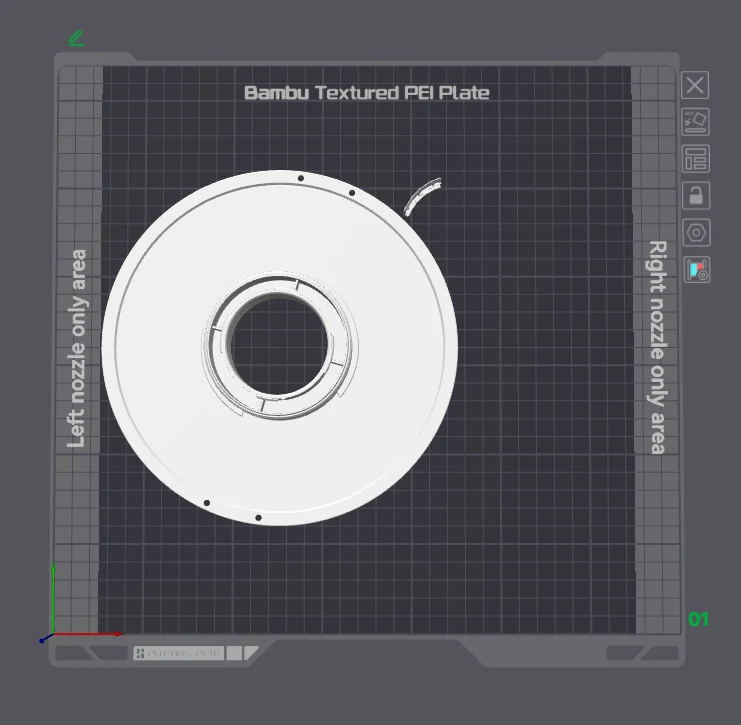
Spool print size
I printed one in PLA and the other in translucent PETG.
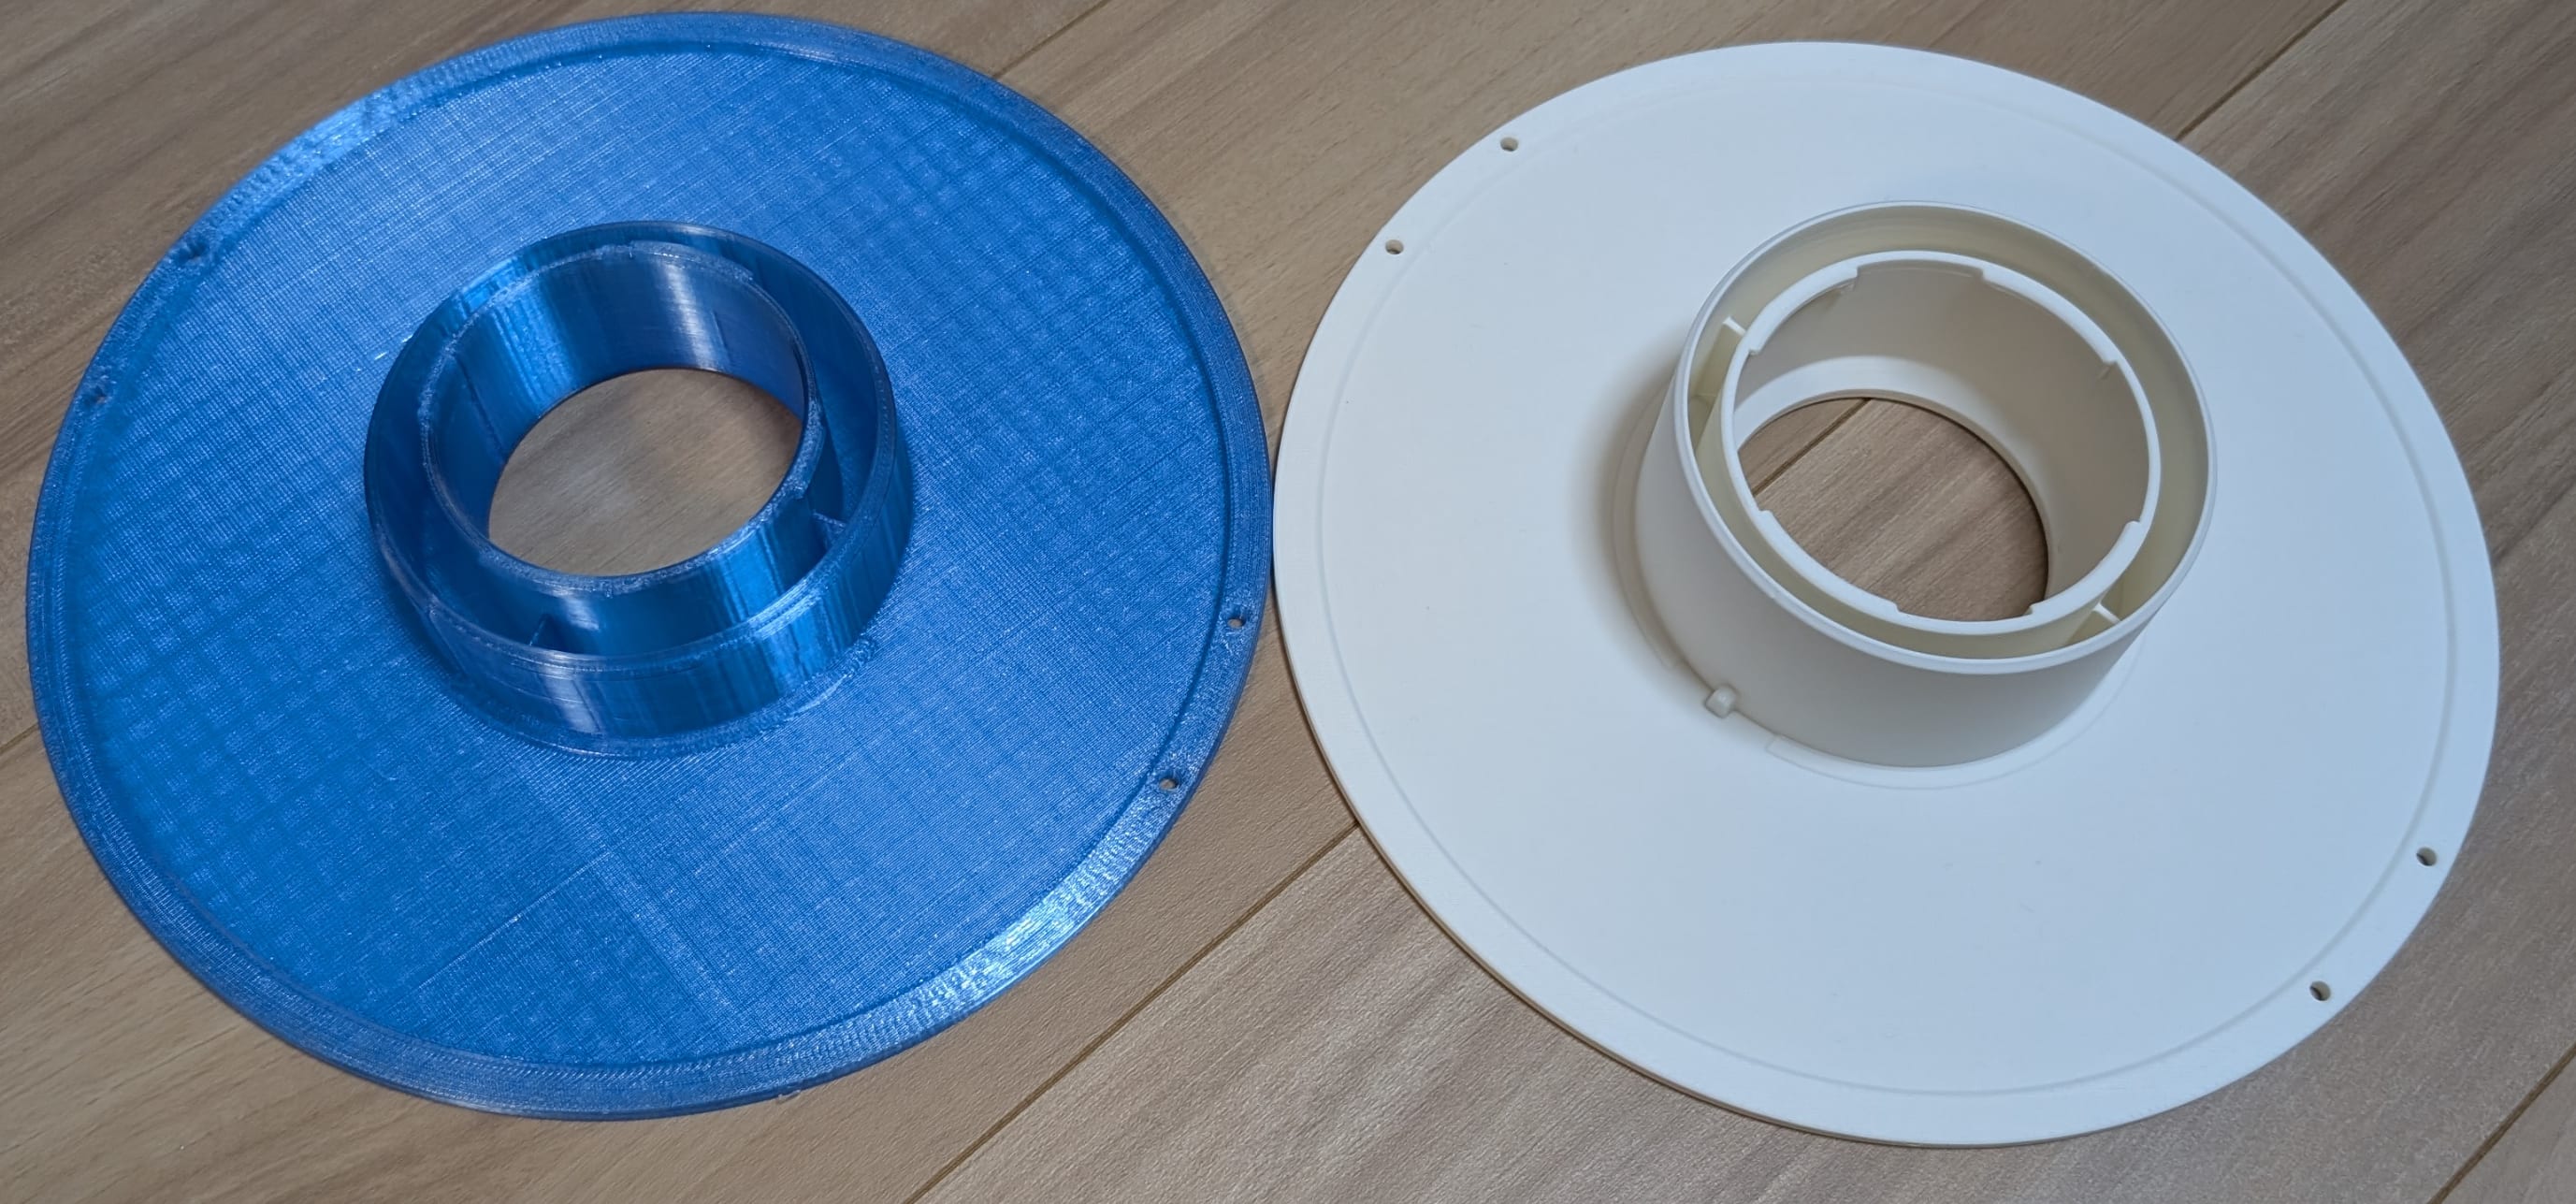
Finished spools
I'd like to try various things utilizing the dual nozzles and prints with supports.
Price
Finally, let's look at the price, which became a topic of discussion.
The Japanese price for the Combo was 400,000 JPY.
When announced, many voices called it expensive, but before that, when the global price was released, I feel like voices were saying it was actually cheap.
In fact, I also had the impression it was expensive compared to other countries. There are two reasons for this, but after a little research, the pricing turns out to be extremely reasonable.
The first major factor is the strong impression left by the price Bambu Lab initially announced.
Initially, it was announced globally at $2200, but looking at the current US store, it's $2700, an increase of $500. Converting the current price to JPY gives about 148 JPY/USD. Considering recent fluctuations, this exchange rate is very good. Furthermore, adding the factor mentioned below brings it to 143 JPY/USD.
Another reason is that it seems considerably higher compared to the Asian version. In Asian regions, for example, Singapore, the Combo can be purchased for just $2000. Compared to this, the Japanese version clearly looks expensive.
However, this price does not include consumption tax, customs duties, and shipping fees.
Taxes are as stated. The actual amount varies by country, so it's hard to say definitively.
Shipping costs can be found by trying the store checkout process; printer bodies are excluded from free shipping. Indeed, checking the checkout screen in the Asian store shows shipping costs of $210 for Singapore and $100 for Hong Kong.
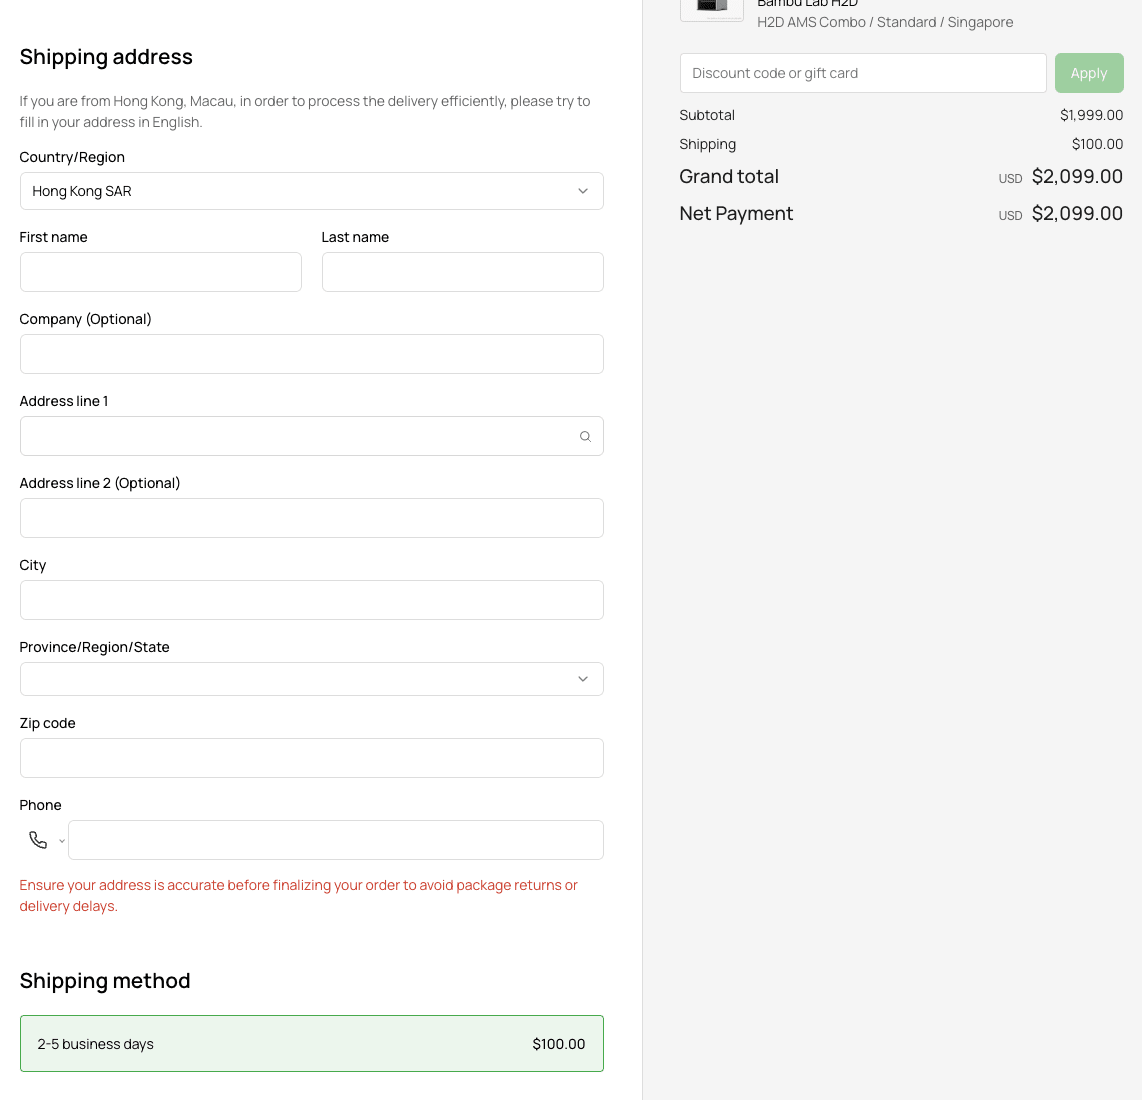
Buying in Hong Kong
If you live in Hong Kong and use it there, it starts at $2,000 (unit) + $100 (shipping) + $0 (customs) + $0 (consumption tax) = $2,100.
On the other hand, assuming the Japanese unit price was $2,000, using it in Japan would be roughly $2,000 (unit) + $210 (shipping) + $110.5 (customs) + $232.05 (consumption tax) = $2,552.55.
Let's assume shipping is $210, the same as Singapore. It's likely to be more...
Customs duties are unclear, but I'm calculating based on a probable 5% category.
Ultimately, in USD/JPY terms, it equates to a 156 JPY/USD conversion rate. Considering recent exchange rates, the pricing seems reasonable.
Overall, I think the situation is complicated because only the Japanese store includes taxes and shipping.
That was the comparison with other countries, but still, the P1S Combo can be bought for 140,000 JPY, making the H2D nearly three times as expensive. Please be careful. Plan your purchases accordingly.
As mentioned earlier, those not in a particular hurry should probably wait for a sale.
The familiar Sunstella-san apparently offers a 5% off coupon, so those who want it now might want to check that out.
Summary (So Far)
In this article, I looked at aspects of the H2D other than printing. Did you get a general idea?
Next time, I'd like to summarize my impressions after actually doing some printing.
I want to try various things, so if there's anything you'd like to know, please leave a comment.
Well then, happy making!
Due to nozzle limitations, the entire area may not be usable. ↩︎
